DIY Credenza & Chalk Art
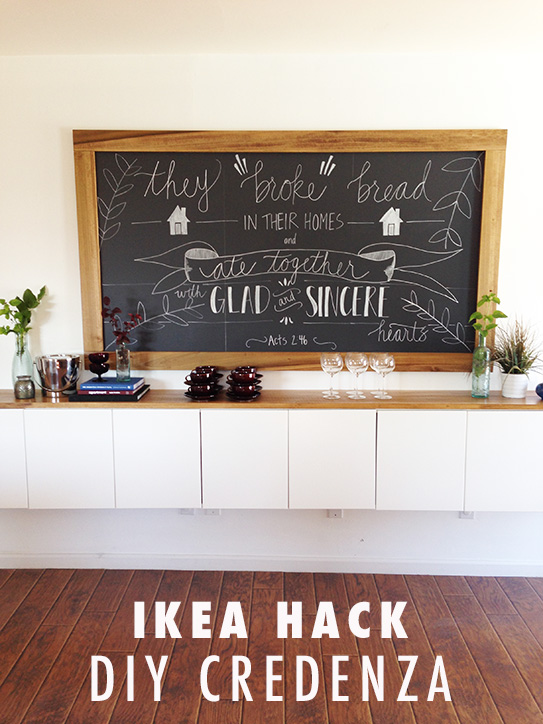
/For three years I've known I wanted to build a "fauxdenza" in our kitchen. When I saw the DIY originally on The Brick House, I knew it was the perfect solution for our insanely long wall in the kitchen. We have a 1950's ranch home that lacks storage, and this credenza would not only serve as a decorative bar, but as a place to store placemats, napkins, vases and other nicknacks that you collect over the years.


We started with Ikea kitchen cabinets. We bought four of them to span 10 feet. We chose the matte white doors (your cheapest option) and followed the shopping list on The Brick House's blog (below). We followed the installation instructions and asked my father-in-law to help Ryan since the cabinets are pretty heavy and the process is time consuming.
FAUXDENZA (from The Brick House)
Dimensions: 10′ long x 13-1/2″ deep x 33″ tall
Materials from Ikea:
8 - Applad Doors (15 x 18″) 4 - Akurum Wall Cabinets (30 x 18″) 8 - Integral Hinge (2 pack) 2 - Akurum Suspension Rail
The wood we chose to float on the top and sides of the cabinets is poplar from The Home Depot. The top is one continuous piece of wood that was cut to size by the lovely people at Home Depot. It was stained with Minwax's golden oak and sealed with Minwax's clear satin finish (also found at The Home Depot).
We had our friend Mason install the wood because he is a professional handyman, and we had one shot at fitting the wood.
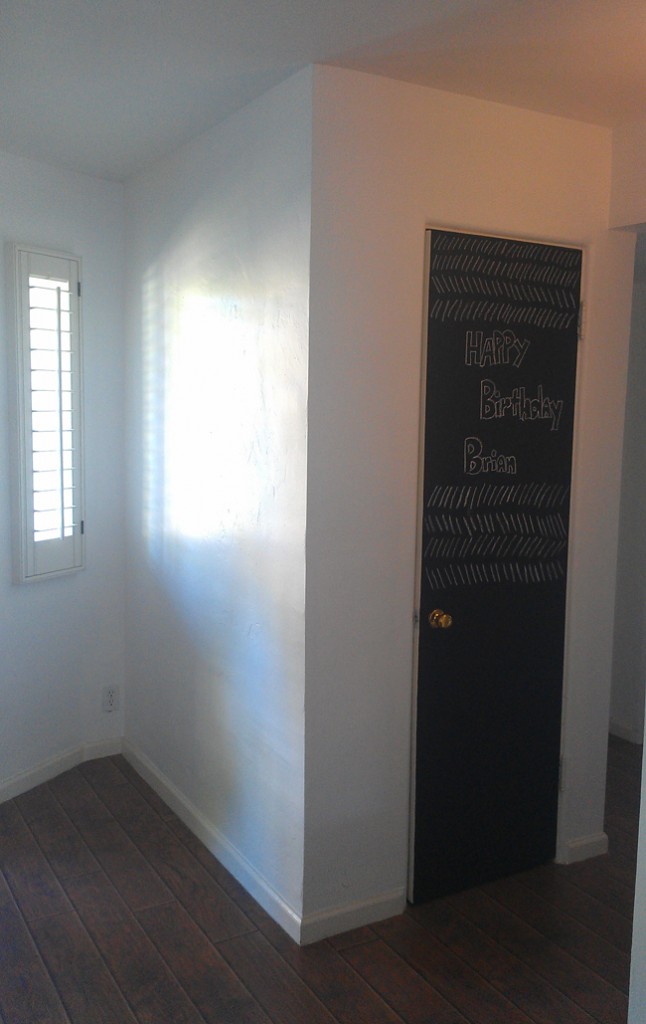
Such a long piece of furniture calls for a large piece of art work. We decided chalk art would complement the rustic quality of the wood. Chasing Paper makes a stickable chalk paper that was easily to apply. You can see the process in the photos below.
We simply measured the area, cut the paper and stuck it to the wall.
For the chalk art I asked my friend Katie Sterbenz to create a custom drawing of the verse in Acts that says, "They broke bread in their homes and ate together with glad and sincere hearts." I thought it was the perfect message for the kitchen because that's what Ryan and I really want our home to be all about - a place to enjoy community and celebrate the great things God has done.
Katie used a transparency and overhead projector to help her. She used several different sized chalk pens to draw everything. You can purchase this print (in a smaller size) for your home and others when you visit her Etsy shop.
You can see how incomplete everything was without the wood on the shelves and the wood around the art. We had Mason create a frame for Katie's piece with the same poplar wood. We stained it with the golden oak color to match the credenza.

