DIY Hanging Ladder
/
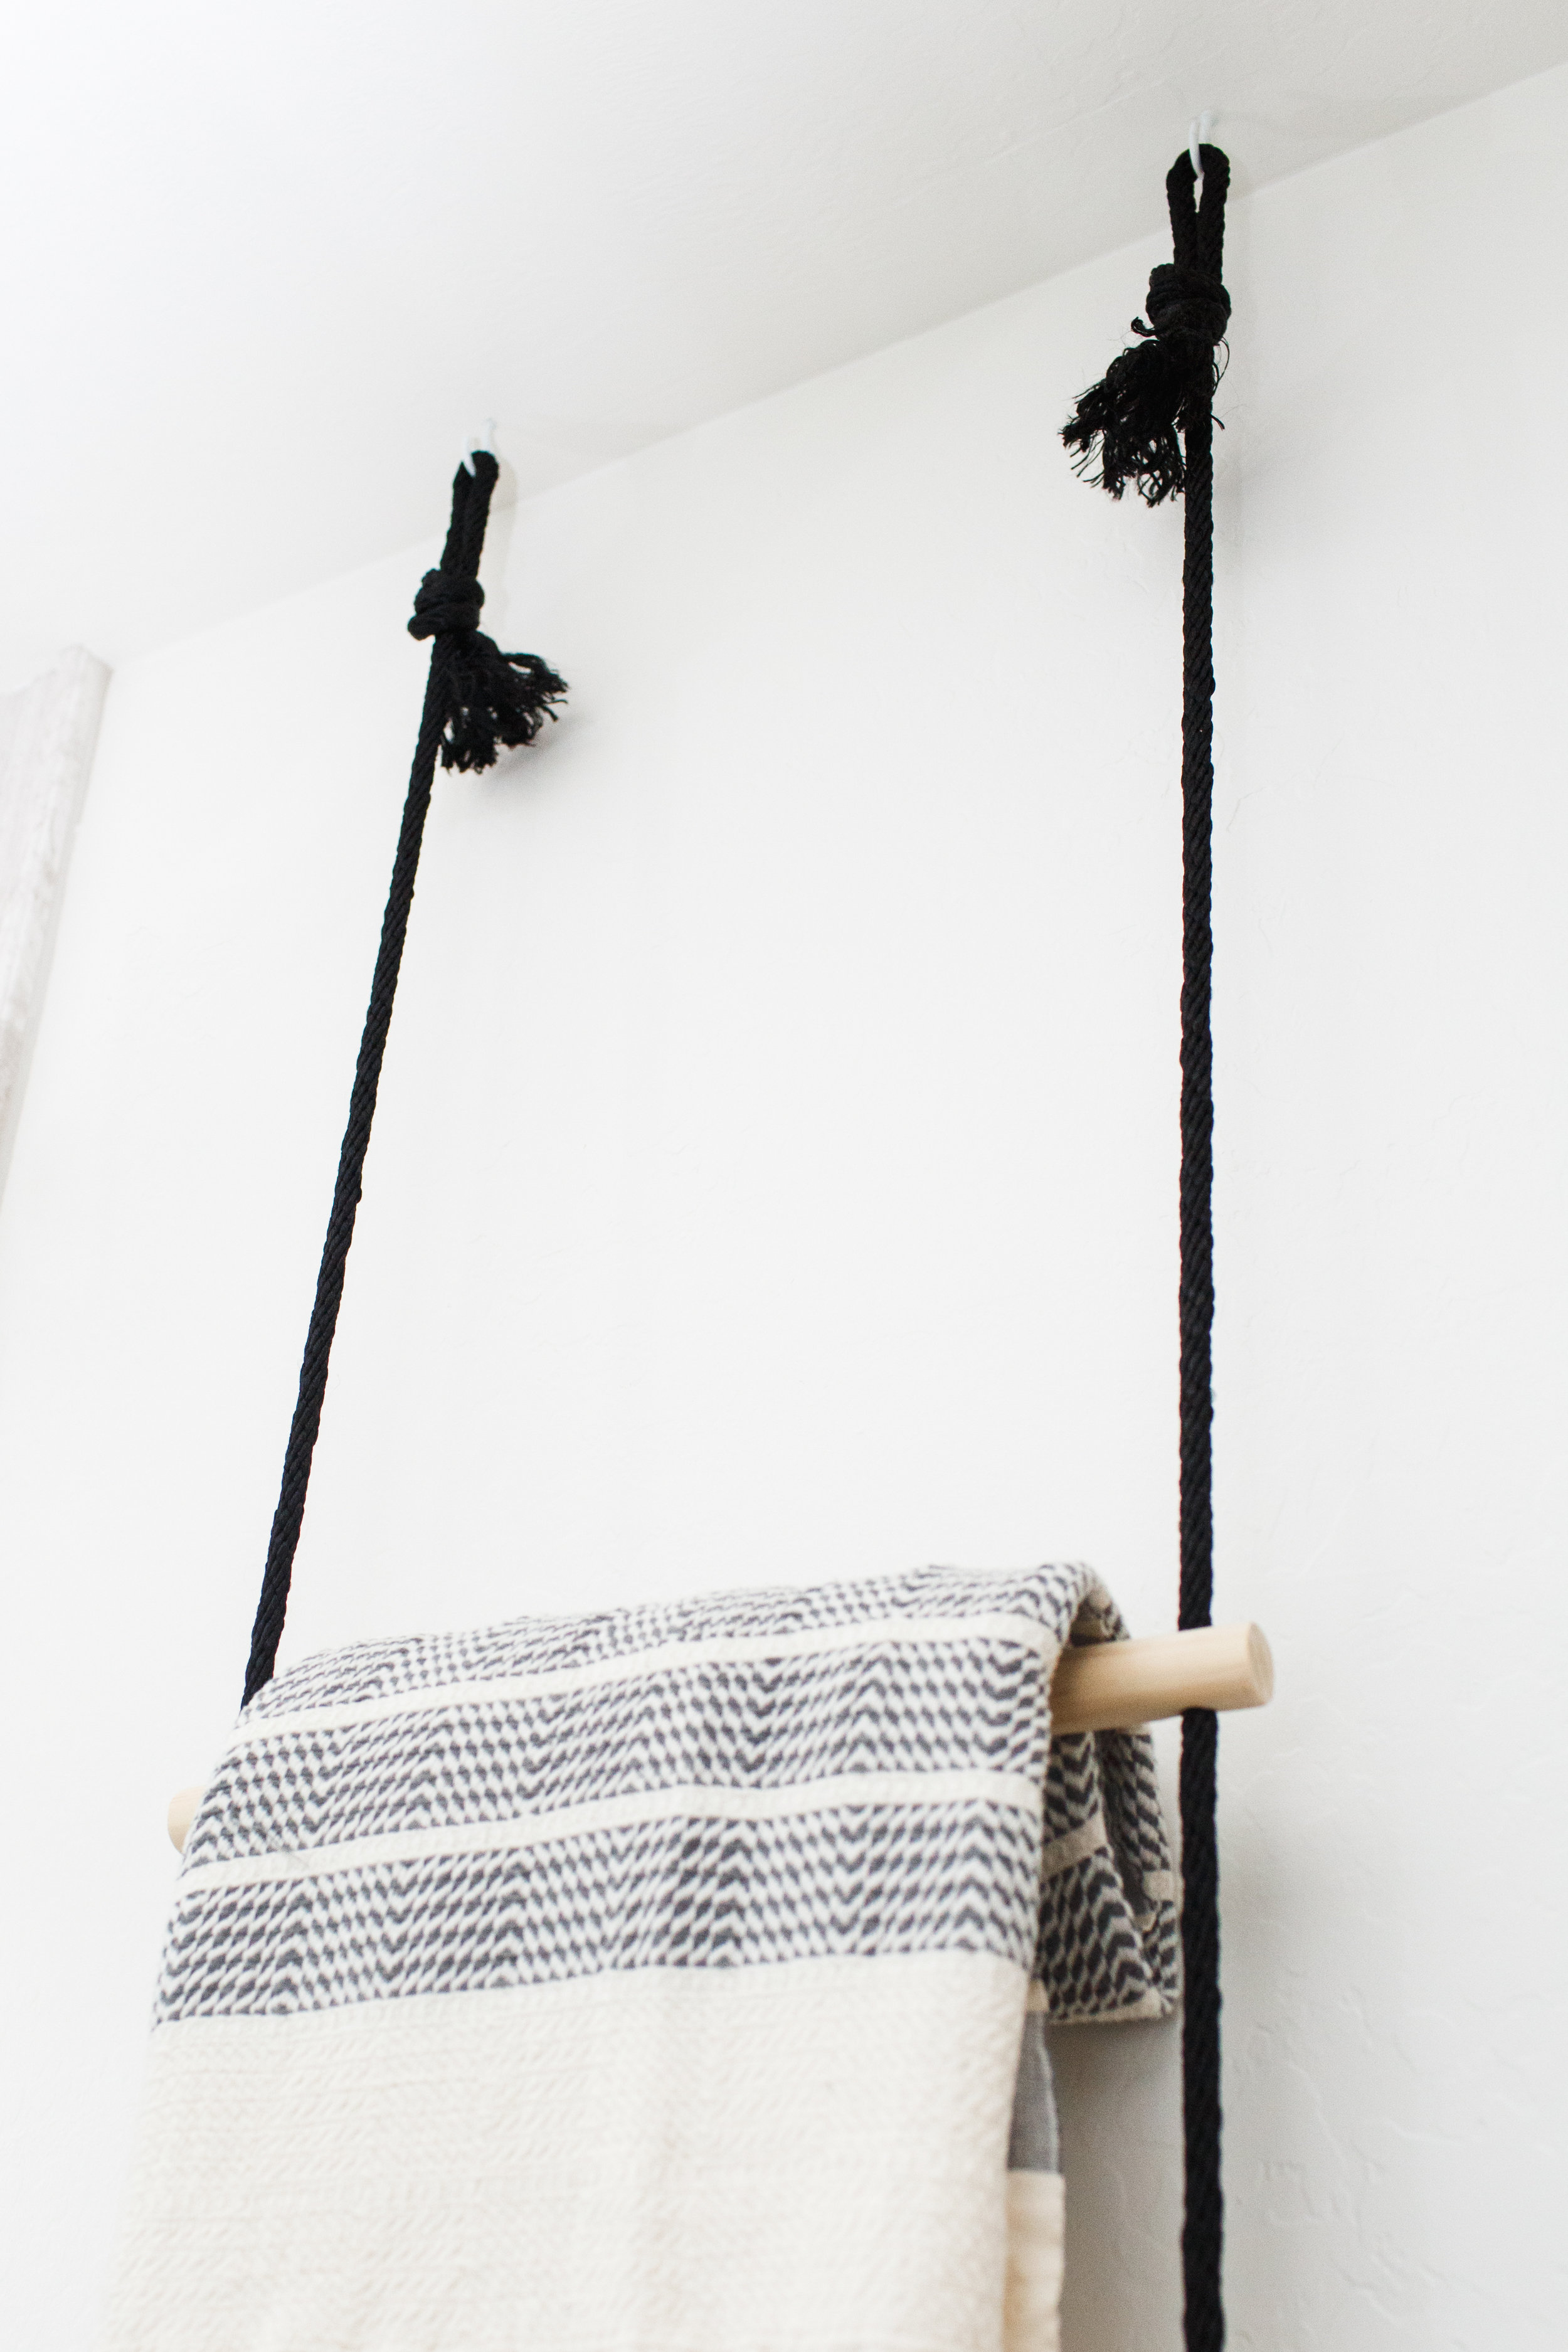
A couple months ago, I finished my first bathroom renovation, but the finishing touches had yet to be put on. In fact, I still don't have a toilet paper holder. Haha! But one of the latest additions to the bathroom is this rope ladder that is serving as my towel rack solution. It's all thanks to Janet Crowther, DIY mastermind, who brought my vision to life, and she also has given you FREE step-by-step instructions.
I met Janet through Pinterest, actually. We were both part of the first and only group Pinterest Ambassadors. I had just given birth to Levi, and I had traveled all of the way to San Francisco when he was just four weeks old. It was one of those trips I didn't want to miss, so off to Pinterest we went. Janet was so kind and sweet, and after meeting her I discovered her eye for trends and design is AMAZING. She is a stylist to the core, and has a way of explaining how to do things in simple ways. Her DIYs feel approachable and achievable. No Pinterest fails with this girl!
In fact, you can get her beautiful book, A Well-Crafted Home, to get all of her amazing DIYs. It's a fabulous gift for the holidays, and it makes a great coffee table book too.

But back to the the ladder...Man, it was the perfect addition to the space. It doesn't take a up a lot of room, and it holds more than a typical towel rack. It also makes the space feel taller because it is hung from the ceiling to the floor. Check out the tools and materials you need to make your own, and follow the step-by-step instructions below to make one for your home.
TOOLS & MATERIALS:
(2) 1” x 48” wood round dowel
Measuring Tape
Pencil
Rotary saw or hand saw
Scrap piece of flat wood
Power drill
13/32“ drill bit
6/64” drill bit
Sandpaper
20 ft of ⅜” solid braid rope
Duck tape (best to use black if using black rope)
Scissors
(8) 6D 2” finishing nails
Hammer
Nail set (optional)
Natural pine wood putty (optional)

INSTRUCTIONS:
Measure, mark and cut each dowel into 3 even sections (approx 16” lengths).
Measure 1” in from both ends of each dowel and mark with a pencil. Holding the wood firmly, at the 1” mark drill a 13/32” hole through the diameter of the dowel, on both ends. Make sure to drill straight up and down and that both holes are aligned. Repeat and drill through all 6 dowels. You will have 2 extra 16” dowel lengths in case one is off or for practice drilling.
Load the drill with the 6/64” bit and drill into the end of each dowel perpendicular to the ⅜” holes. Going straight through the length of the dowel and right at the center of ⅜” hole. Drill both ends of all 6 dowels.
Sand the ends of the dowels smooth as well as the holes. Wrap a small piece of sandpaper around your pencil to sand inside the 13/32” hole. Make it as smooth as possible so the rope doesn’t snag when threading through.
Tape both ends of rope tightly with duck tape. Find the center of the rope and tape around. Cut the center of the tape creating two 10 ft lengths of rope. Fold one end of rope over onto itself at 12” and form an overhand loop knot. Pull tightly so it stays in place. Repeat on one side to the other length of rope. Make sure the loops are even in size and adjust if needed.
From the bottom of one overhand loop knot measure 21” down and place a ½” piece of duck tape very tightly around. Measure 14” down from the duct tape and wrap another piece around. Repeat 2 more times measuring 14” down from each piece of tape. You should have 4 pieces of tape total. Hold the unwrapped piece of rope next to the tapped one and copy the placement, make sure the knots at the top stay even and tape placement is exactly the same on both.
Lay the 2 pieces of rope on the floor about a foot apart, knots to one side. Take one dowel and slide the taped ends of rope (opposite of the knot)s through the 13/32” holes. Slide it all the way up to the top pieces of tape, the tape should be inside each dowel, hidden by the holes. Repeat with 3 more dowels bringing them up to the remaining tape stations.
Make sure that all the dowels are level and even across the rope. Adjust as you go and check after each nail is placed because once you nail them in you will not be able to adjust! Starting with the top dowel, hammer one finish nail into the small drill hole on each side of the dowel. There will be a bit of resistance when you reach the rope so make sure to hammer straight and forcefully so the nail doesn’t come out where it’s not supposed to. Hammer all 8 nails into the dowels.
This step is optional. If you would like a seamless look on the side, use the nail set and hammer to push the nail further into the dowel and beneath the woods surface. Then fill the small hole in with wood putty. Once the putty is dry use sandpaper to buff off any excess putty from the surface.
Knot both ends of rope right under the bottom dowel. Cut the rope 2.5” from the bottom of the knots. Using your fingers separate the strands of rope and fluff them to create a tassel.
To make the top knot tassels cut the short end of rope 2.5” from the bottom of the knots. Using your fingers separate the strands of rope and fluff them to create a tassel. Trim any longer strands to make even ends.
Hang the ladder from the ceiling using large ceiling hooks.

Tutorial by Janet Crowther, author of A Well-Crafted Home; Photos by Rennai Hoefer