GUEST ROOM MAKEOVER & CONTEST

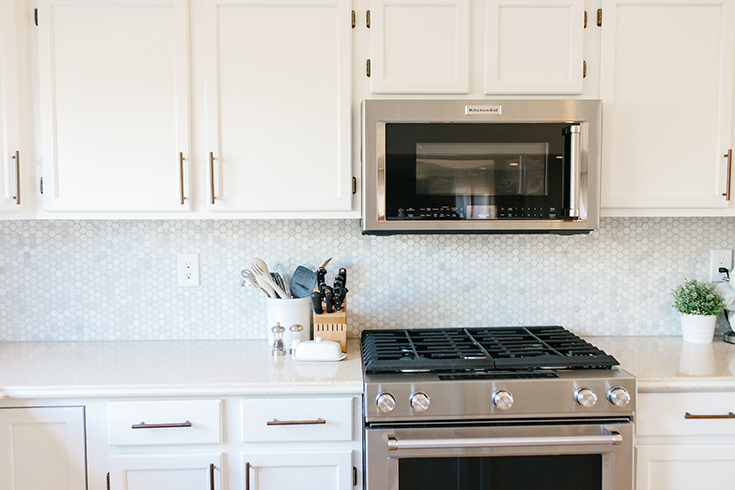
One of the best things about our new home is that it has plenty of space to host friends and family. I've always dreamed of creating a hotel-worthy guest room that made our guests feel welcome and rested. Living Spaces helped make my dream a reality with some of the most beautiful and affordable furniture around, and I'm excited to share it with you (P.S. you can win this whole space).

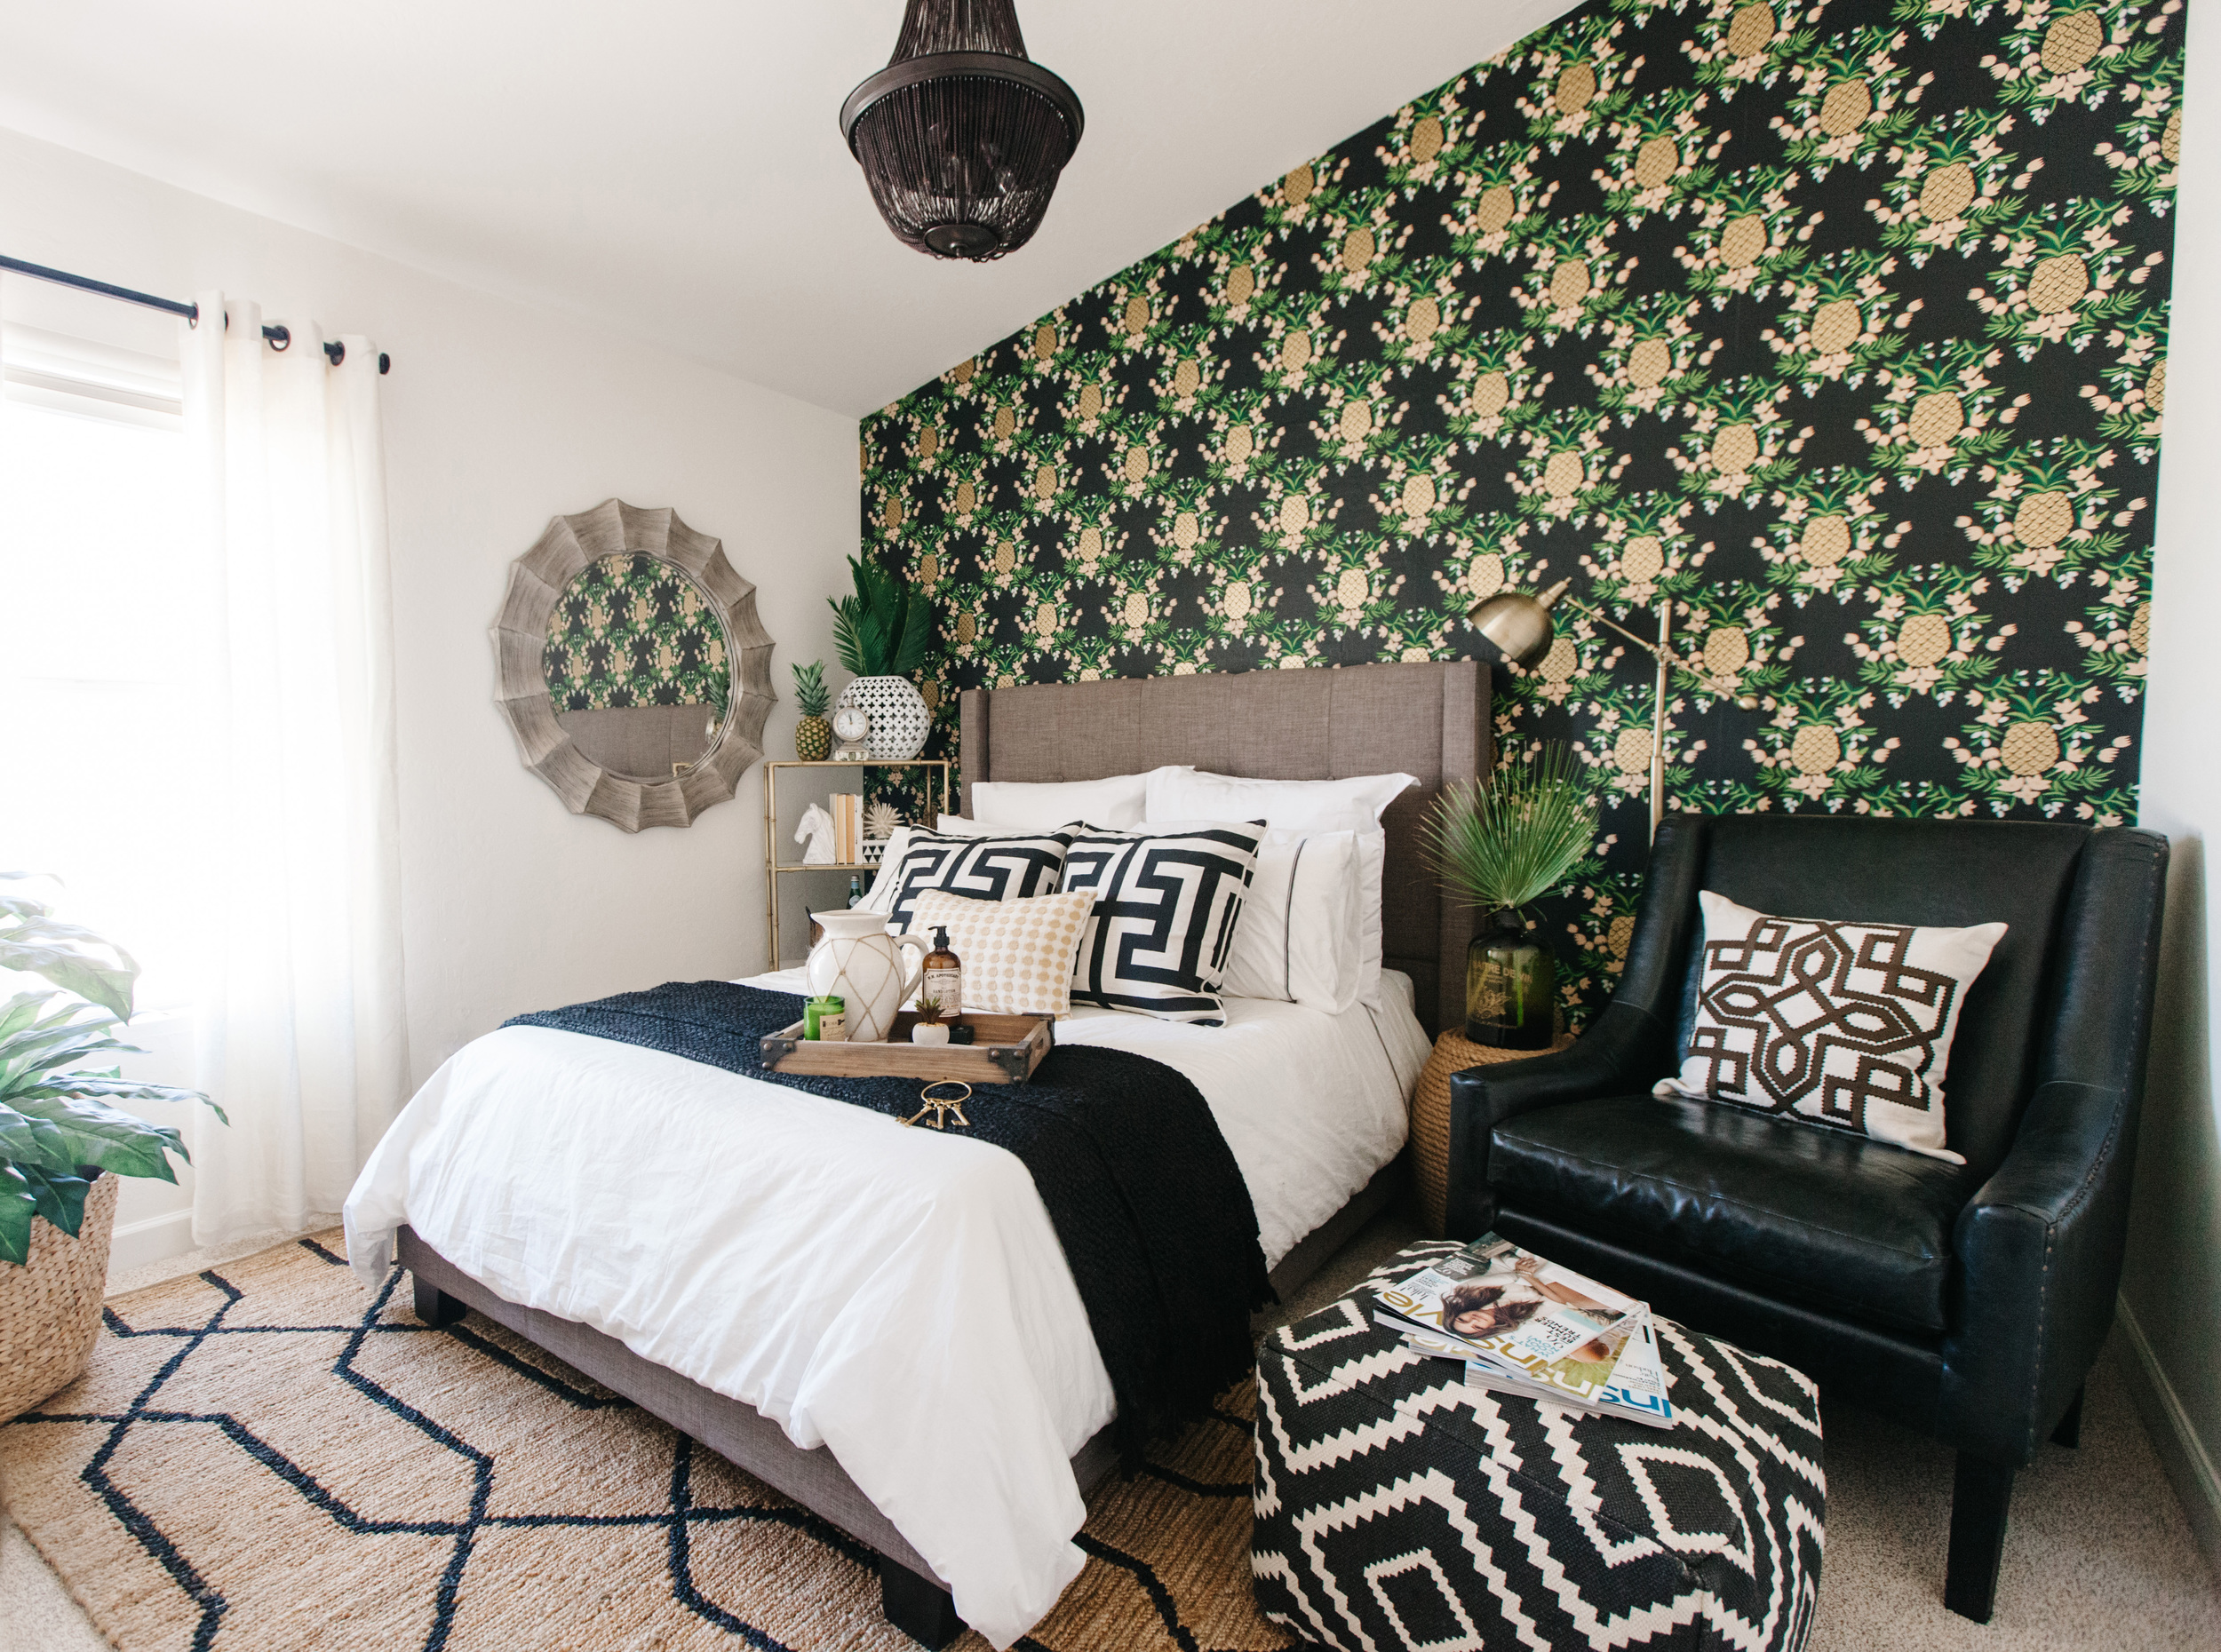
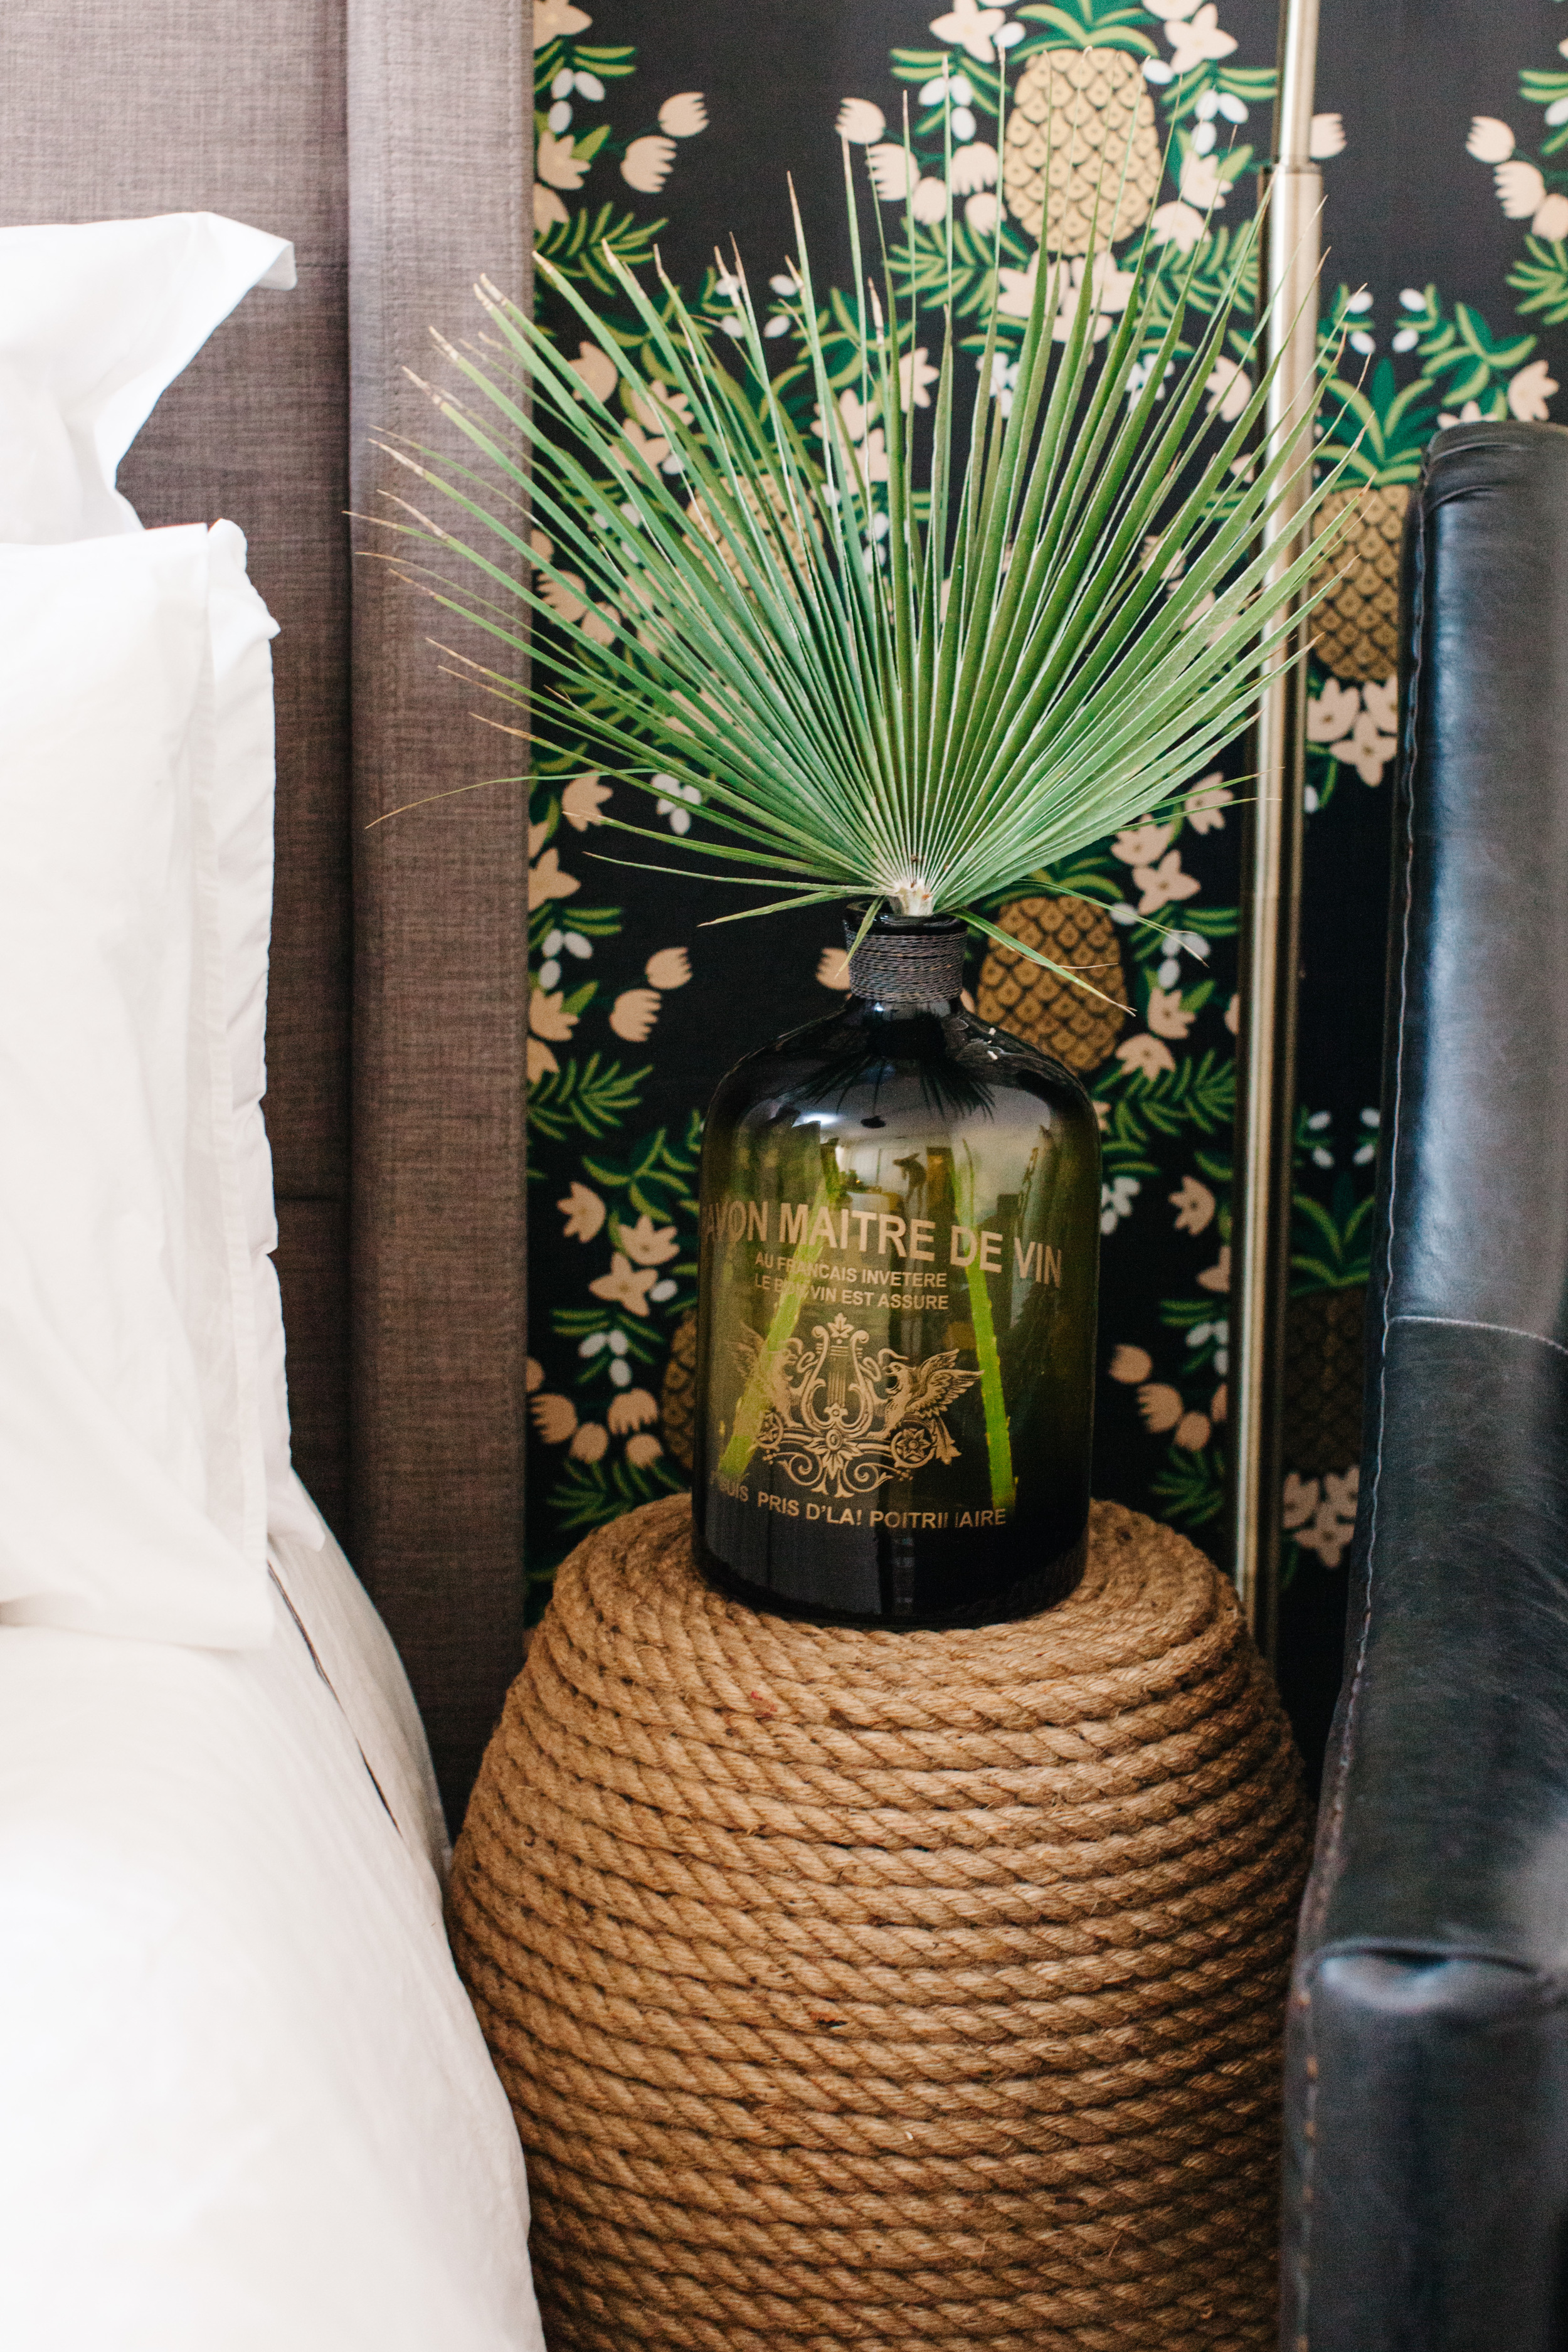
We all know that pineapples are a pin-worthy subject lately, but did you know that the pineapple is a symbol of hospitality that dates back to Christopher Columbus (see more here)? Well, as a woman that loves a good dark wall and one that loves pineapples, when I saw this Hygge & West ebony pineapple wallpaper I knew that this was perfect for my guest room and source of inspiration for the rest of the room.

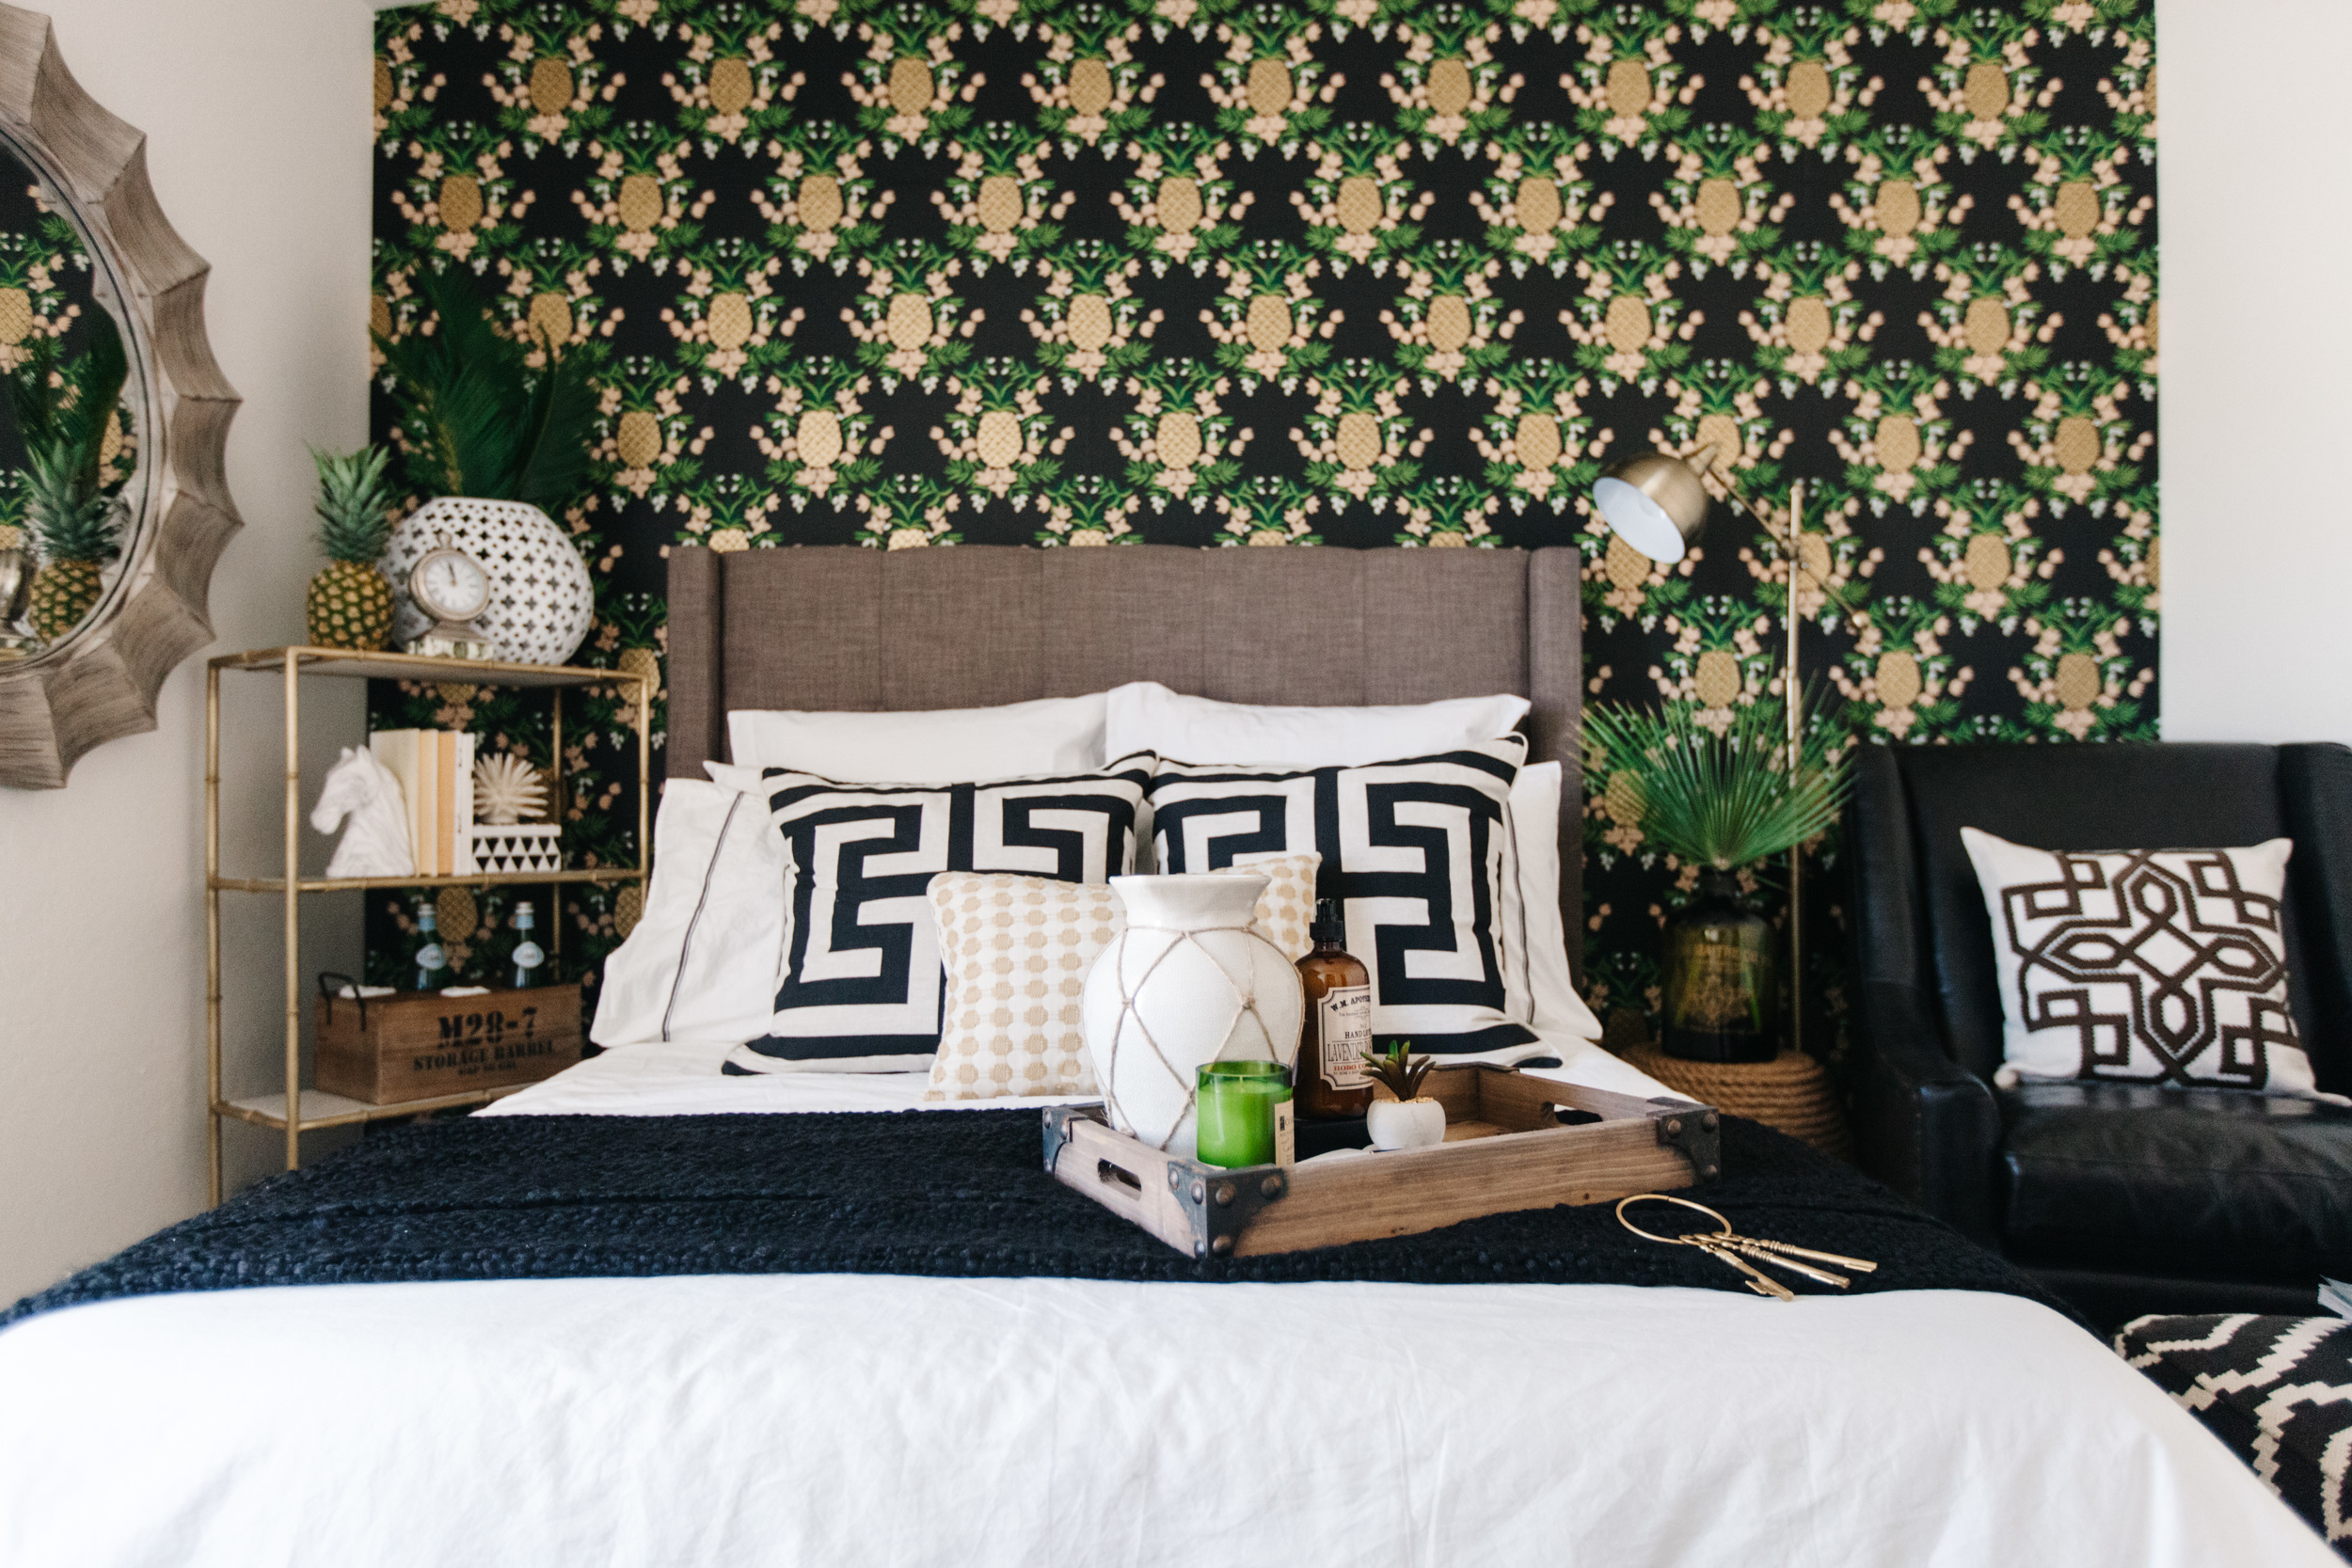
The color palette was set by this wallpaper, but to avoid it feeling too matchy, matchy I wanted to introduce some natural textures, grays and other patterns. I selected a full sized, gray upholstered bed. It was only $370, and looks like it costs over one thousand. A crisp white duvet is always something you find in hotels these days, but these black and white accent pillows accompanied by a soft black throw made the bed feel even more luxurious.

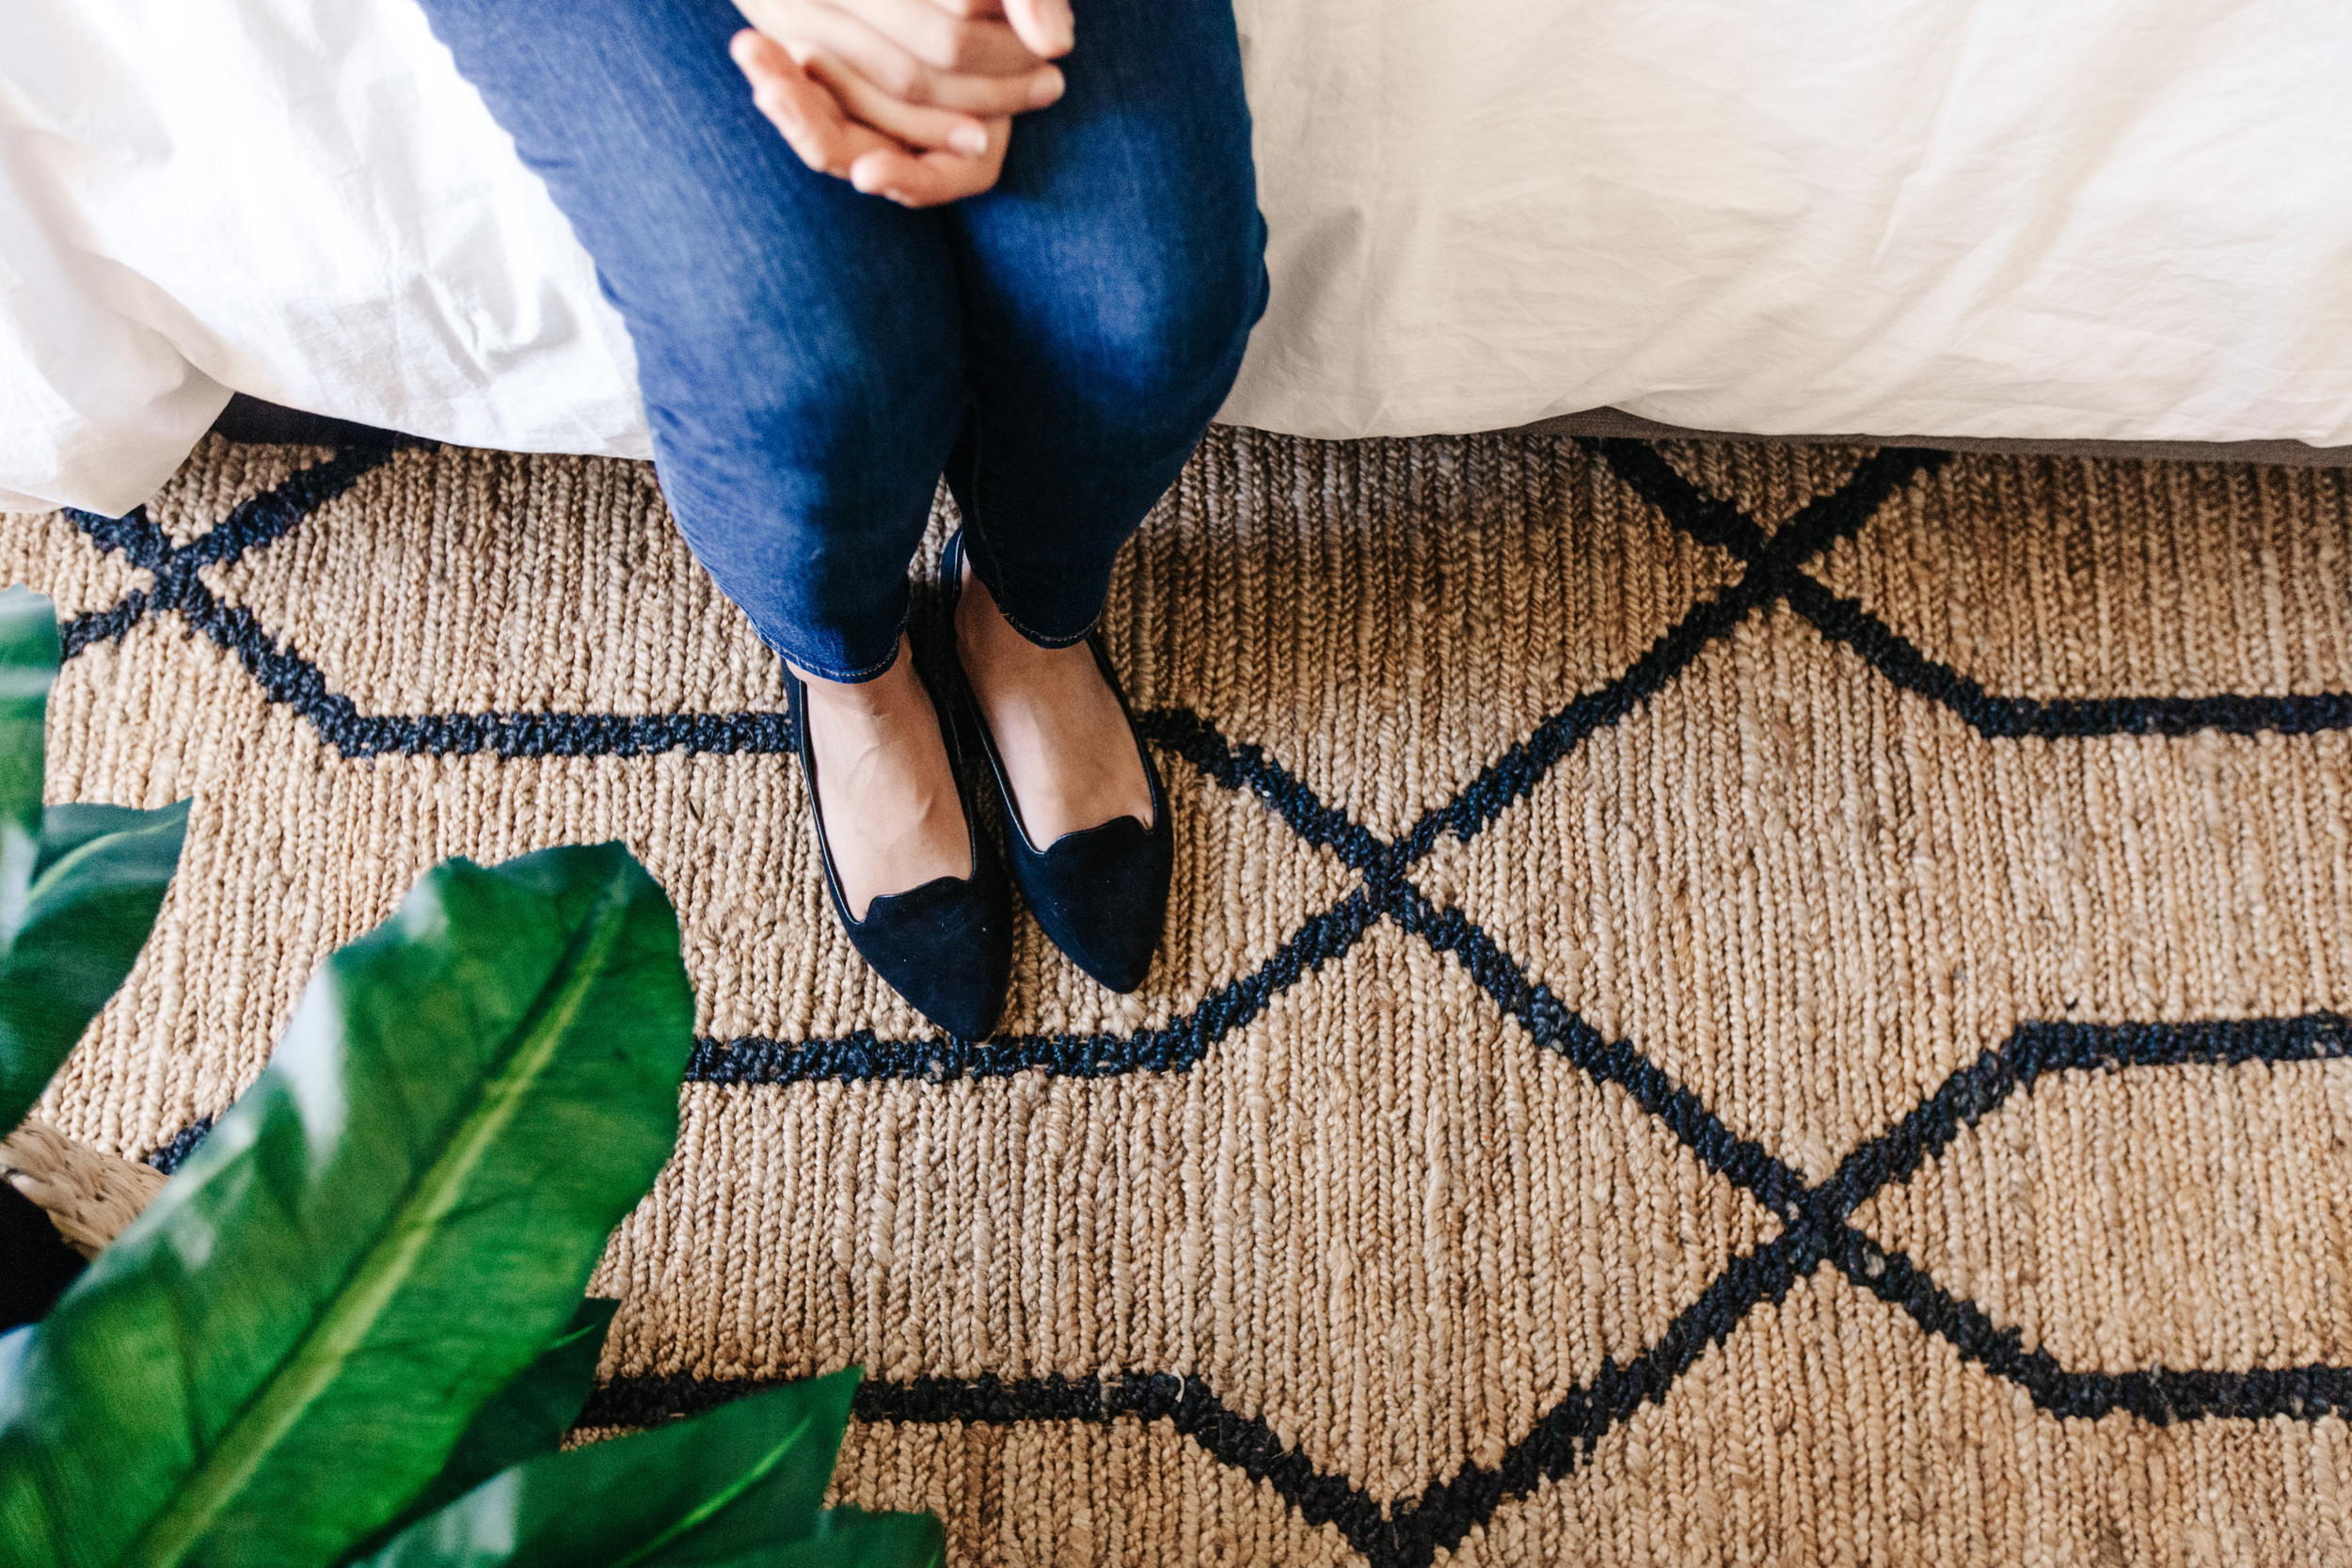
I then picked an area rug to anchor the space, and I fell in love with this jute rug with black lines. Other elements that added this natural quality were an outdoor rope stool doubled as a side table and a woven basket used as a planter.

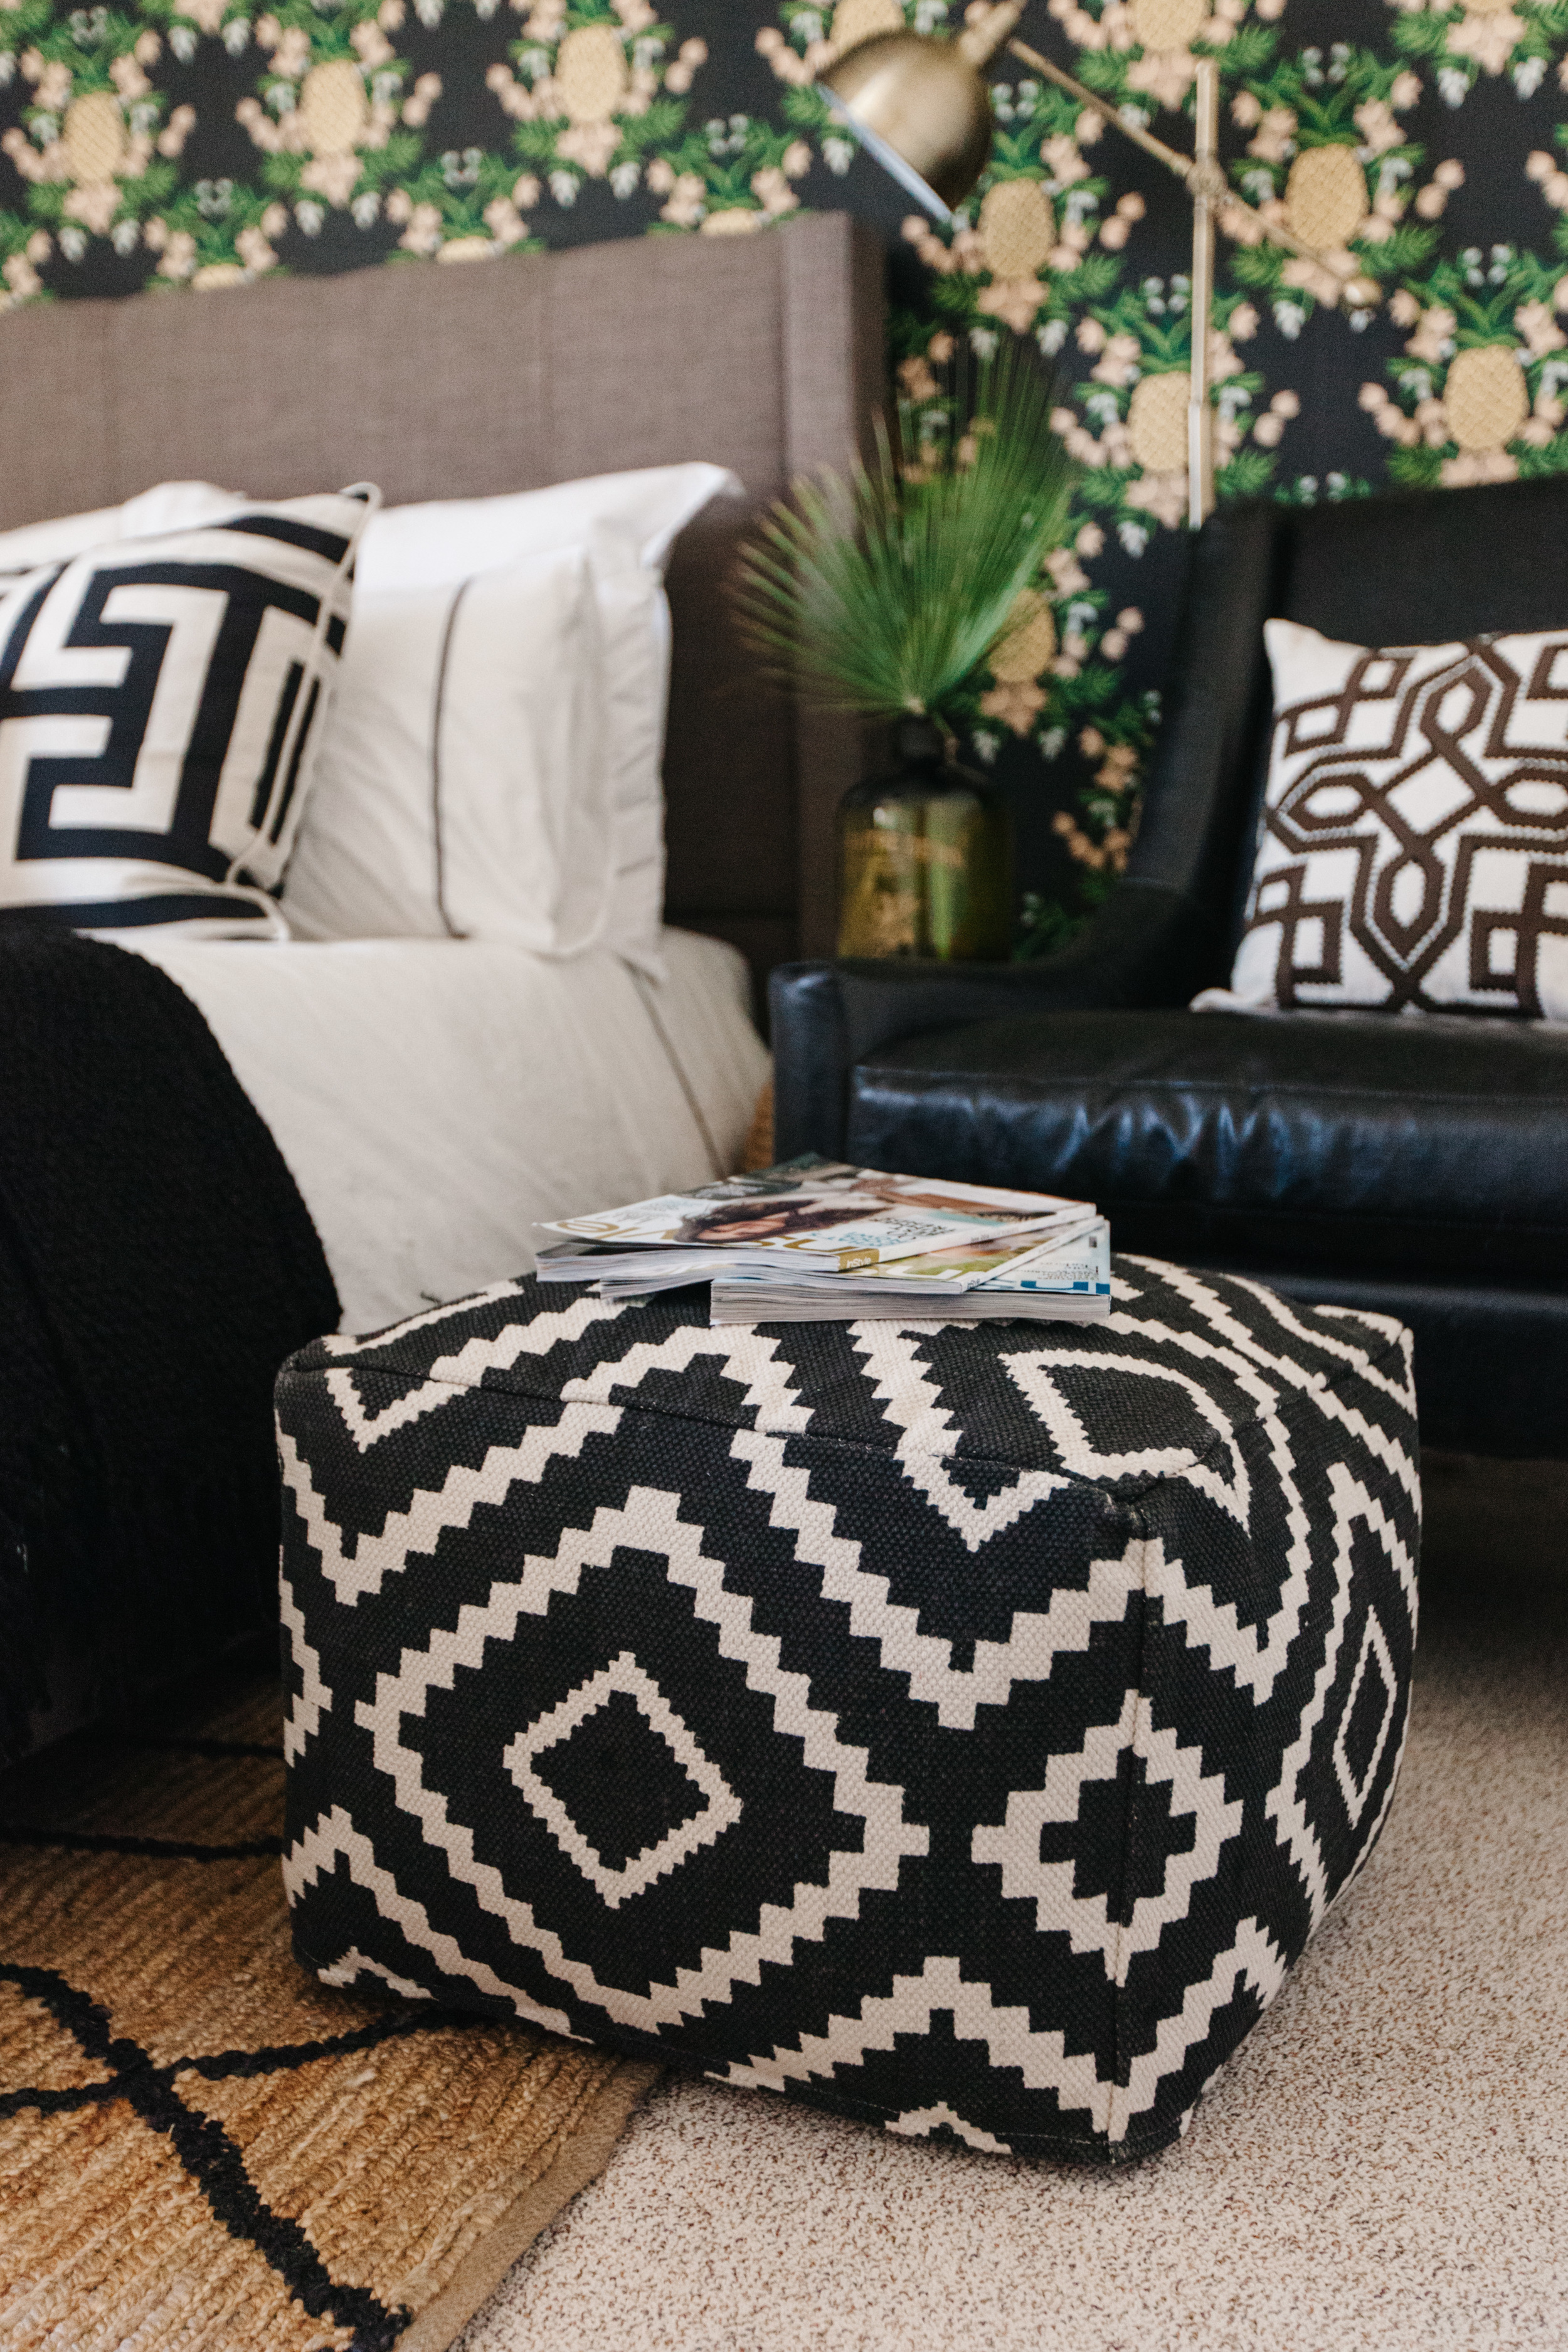
When I think about the different elements that make up a comfortable hotel room a cozy reading chair always comes to mind. This black, brass studded, leather chair is so classic in design and the perfect reading chair for my guests. I added a brass reading lamp next to it that could also be turned if someone decided to read in bed. Of course, being able to put your feet up and relax is important and this printed ottoman called my name.

The room is 11 ft wide and 8 ft deep, so I didn't have too much room for side tables. Instead, I opted for the small rope stool on one side and a brass and marble bookshelf for the other. I decorated the shelves with elements that you would often find in a hotel room such as a clock, books, bottled water, wash cloths and flowers (or in this case palm leaves to continue the tropical flair). You'll also always want a mirror for your guests to check their hair and makeup without having to go down the hall to the bathroom. I love this 44 inch gray mirror. It has an island feel to it and the color softens the room.

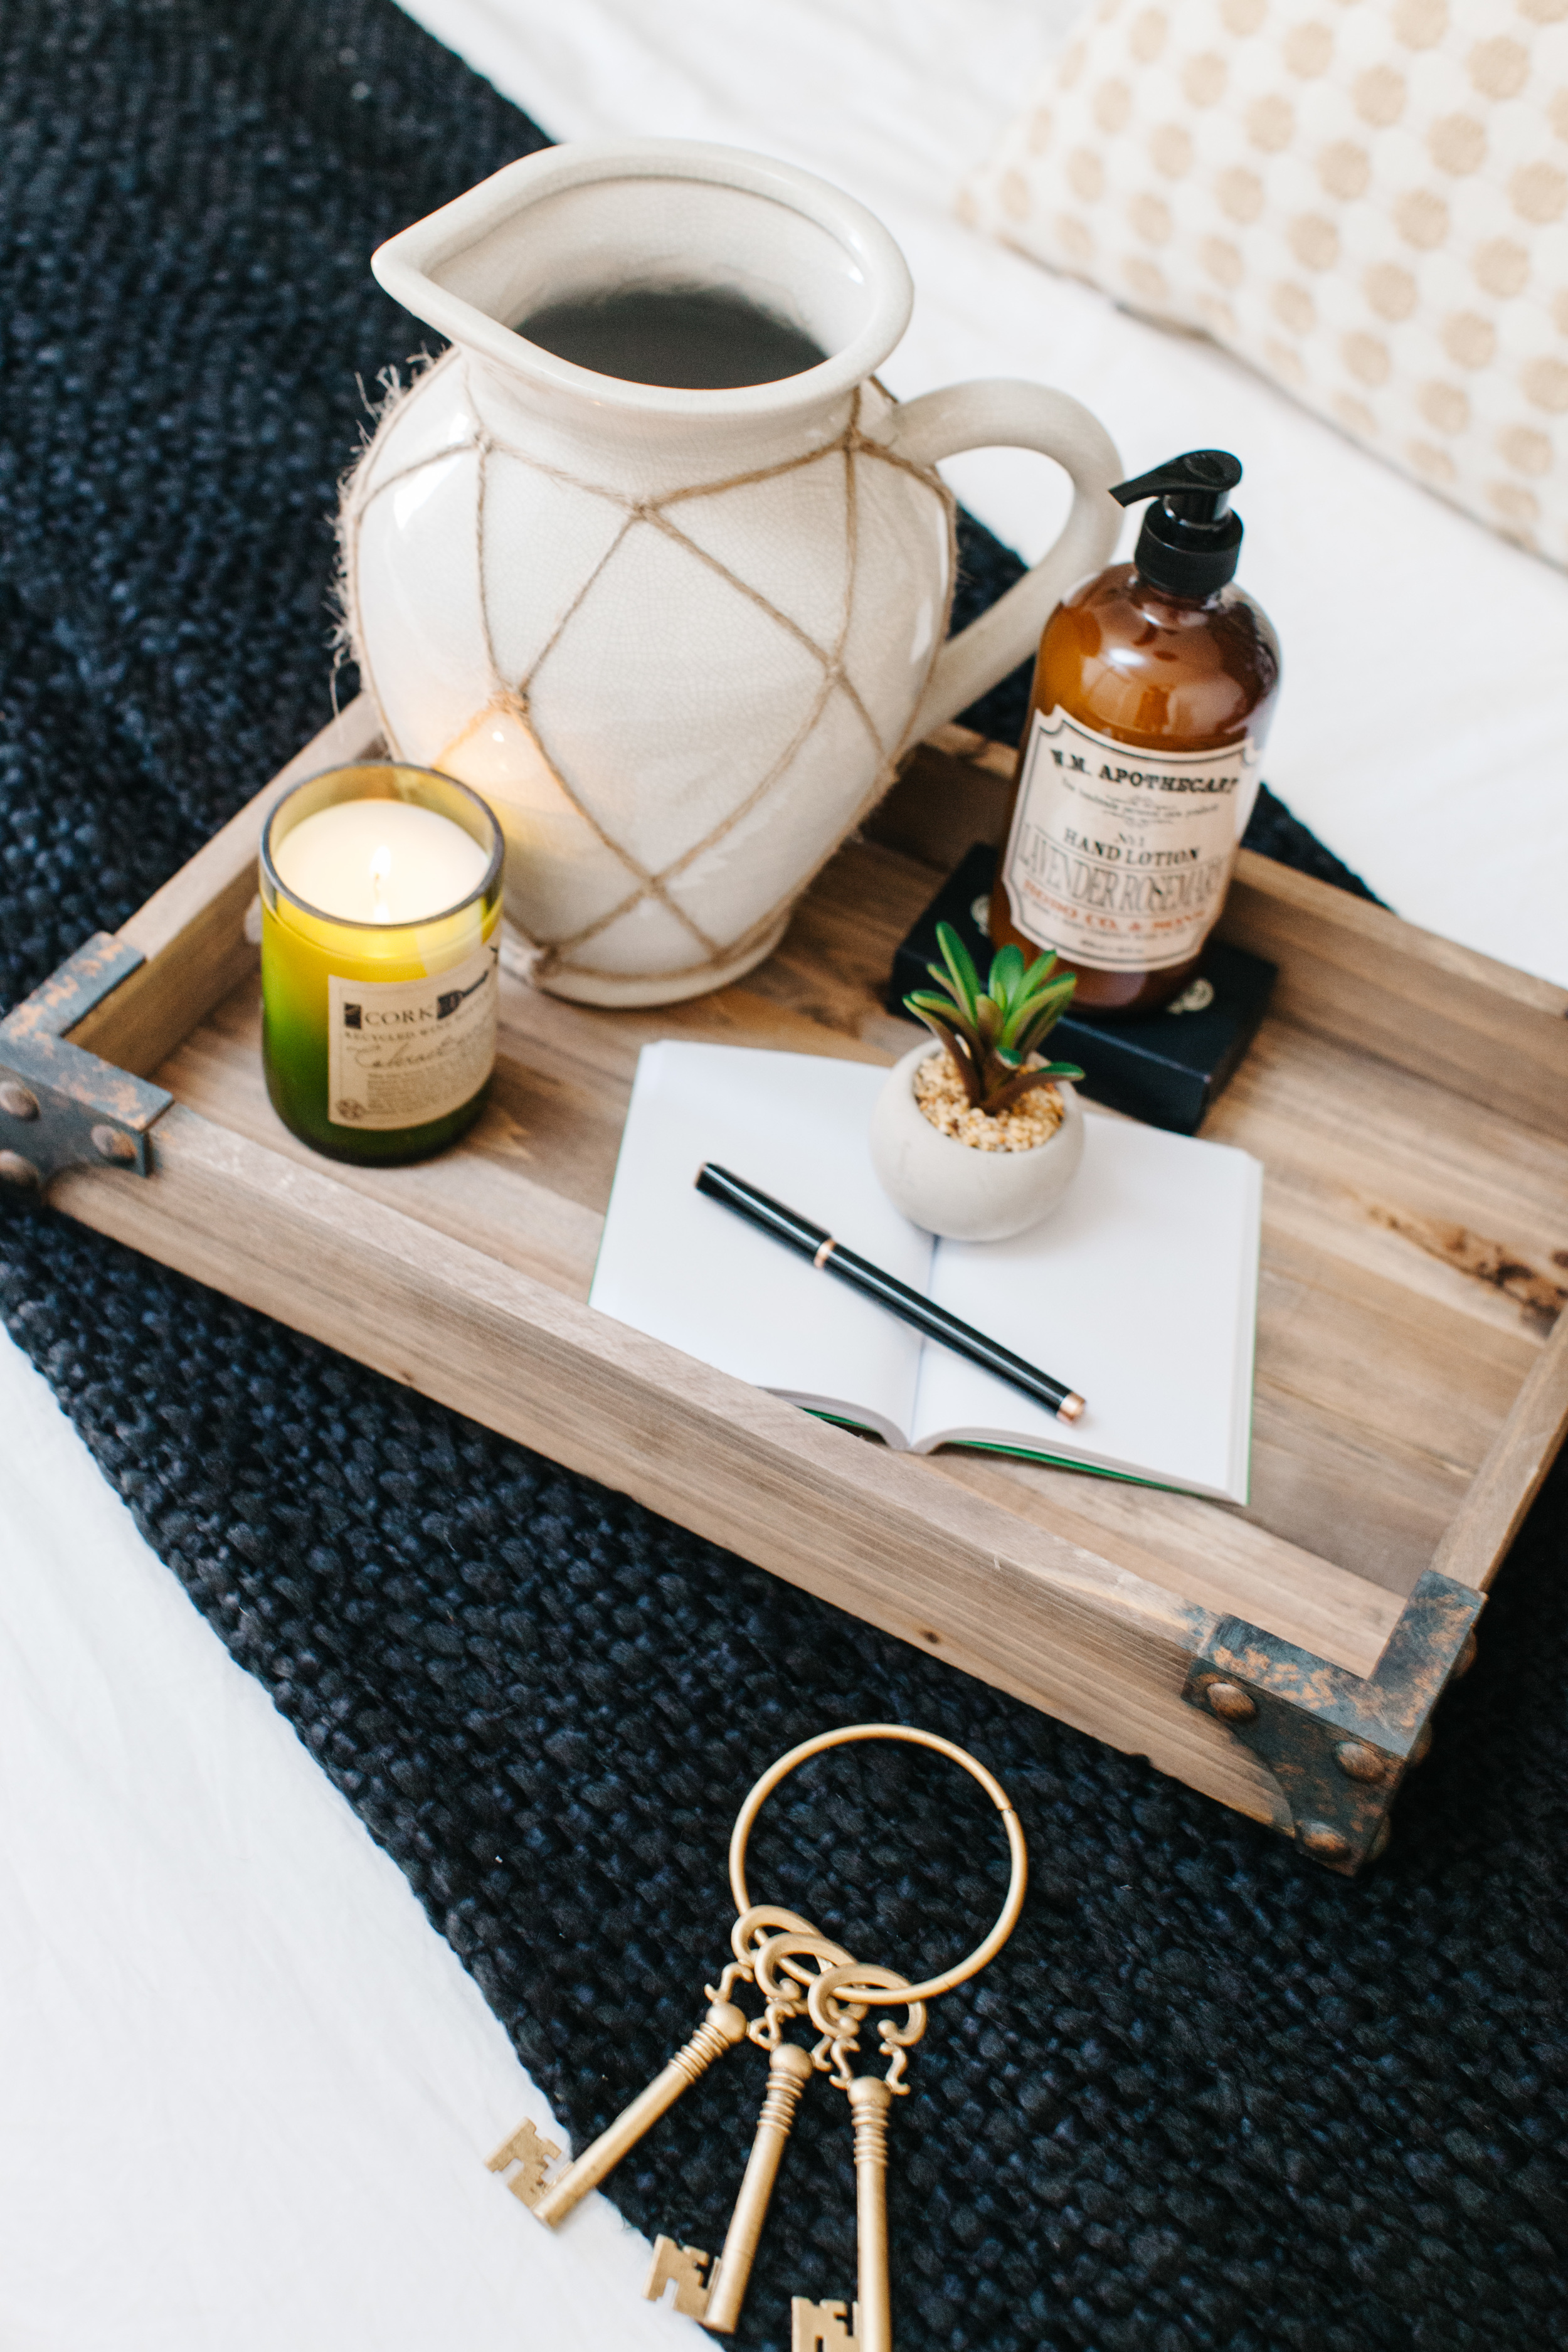
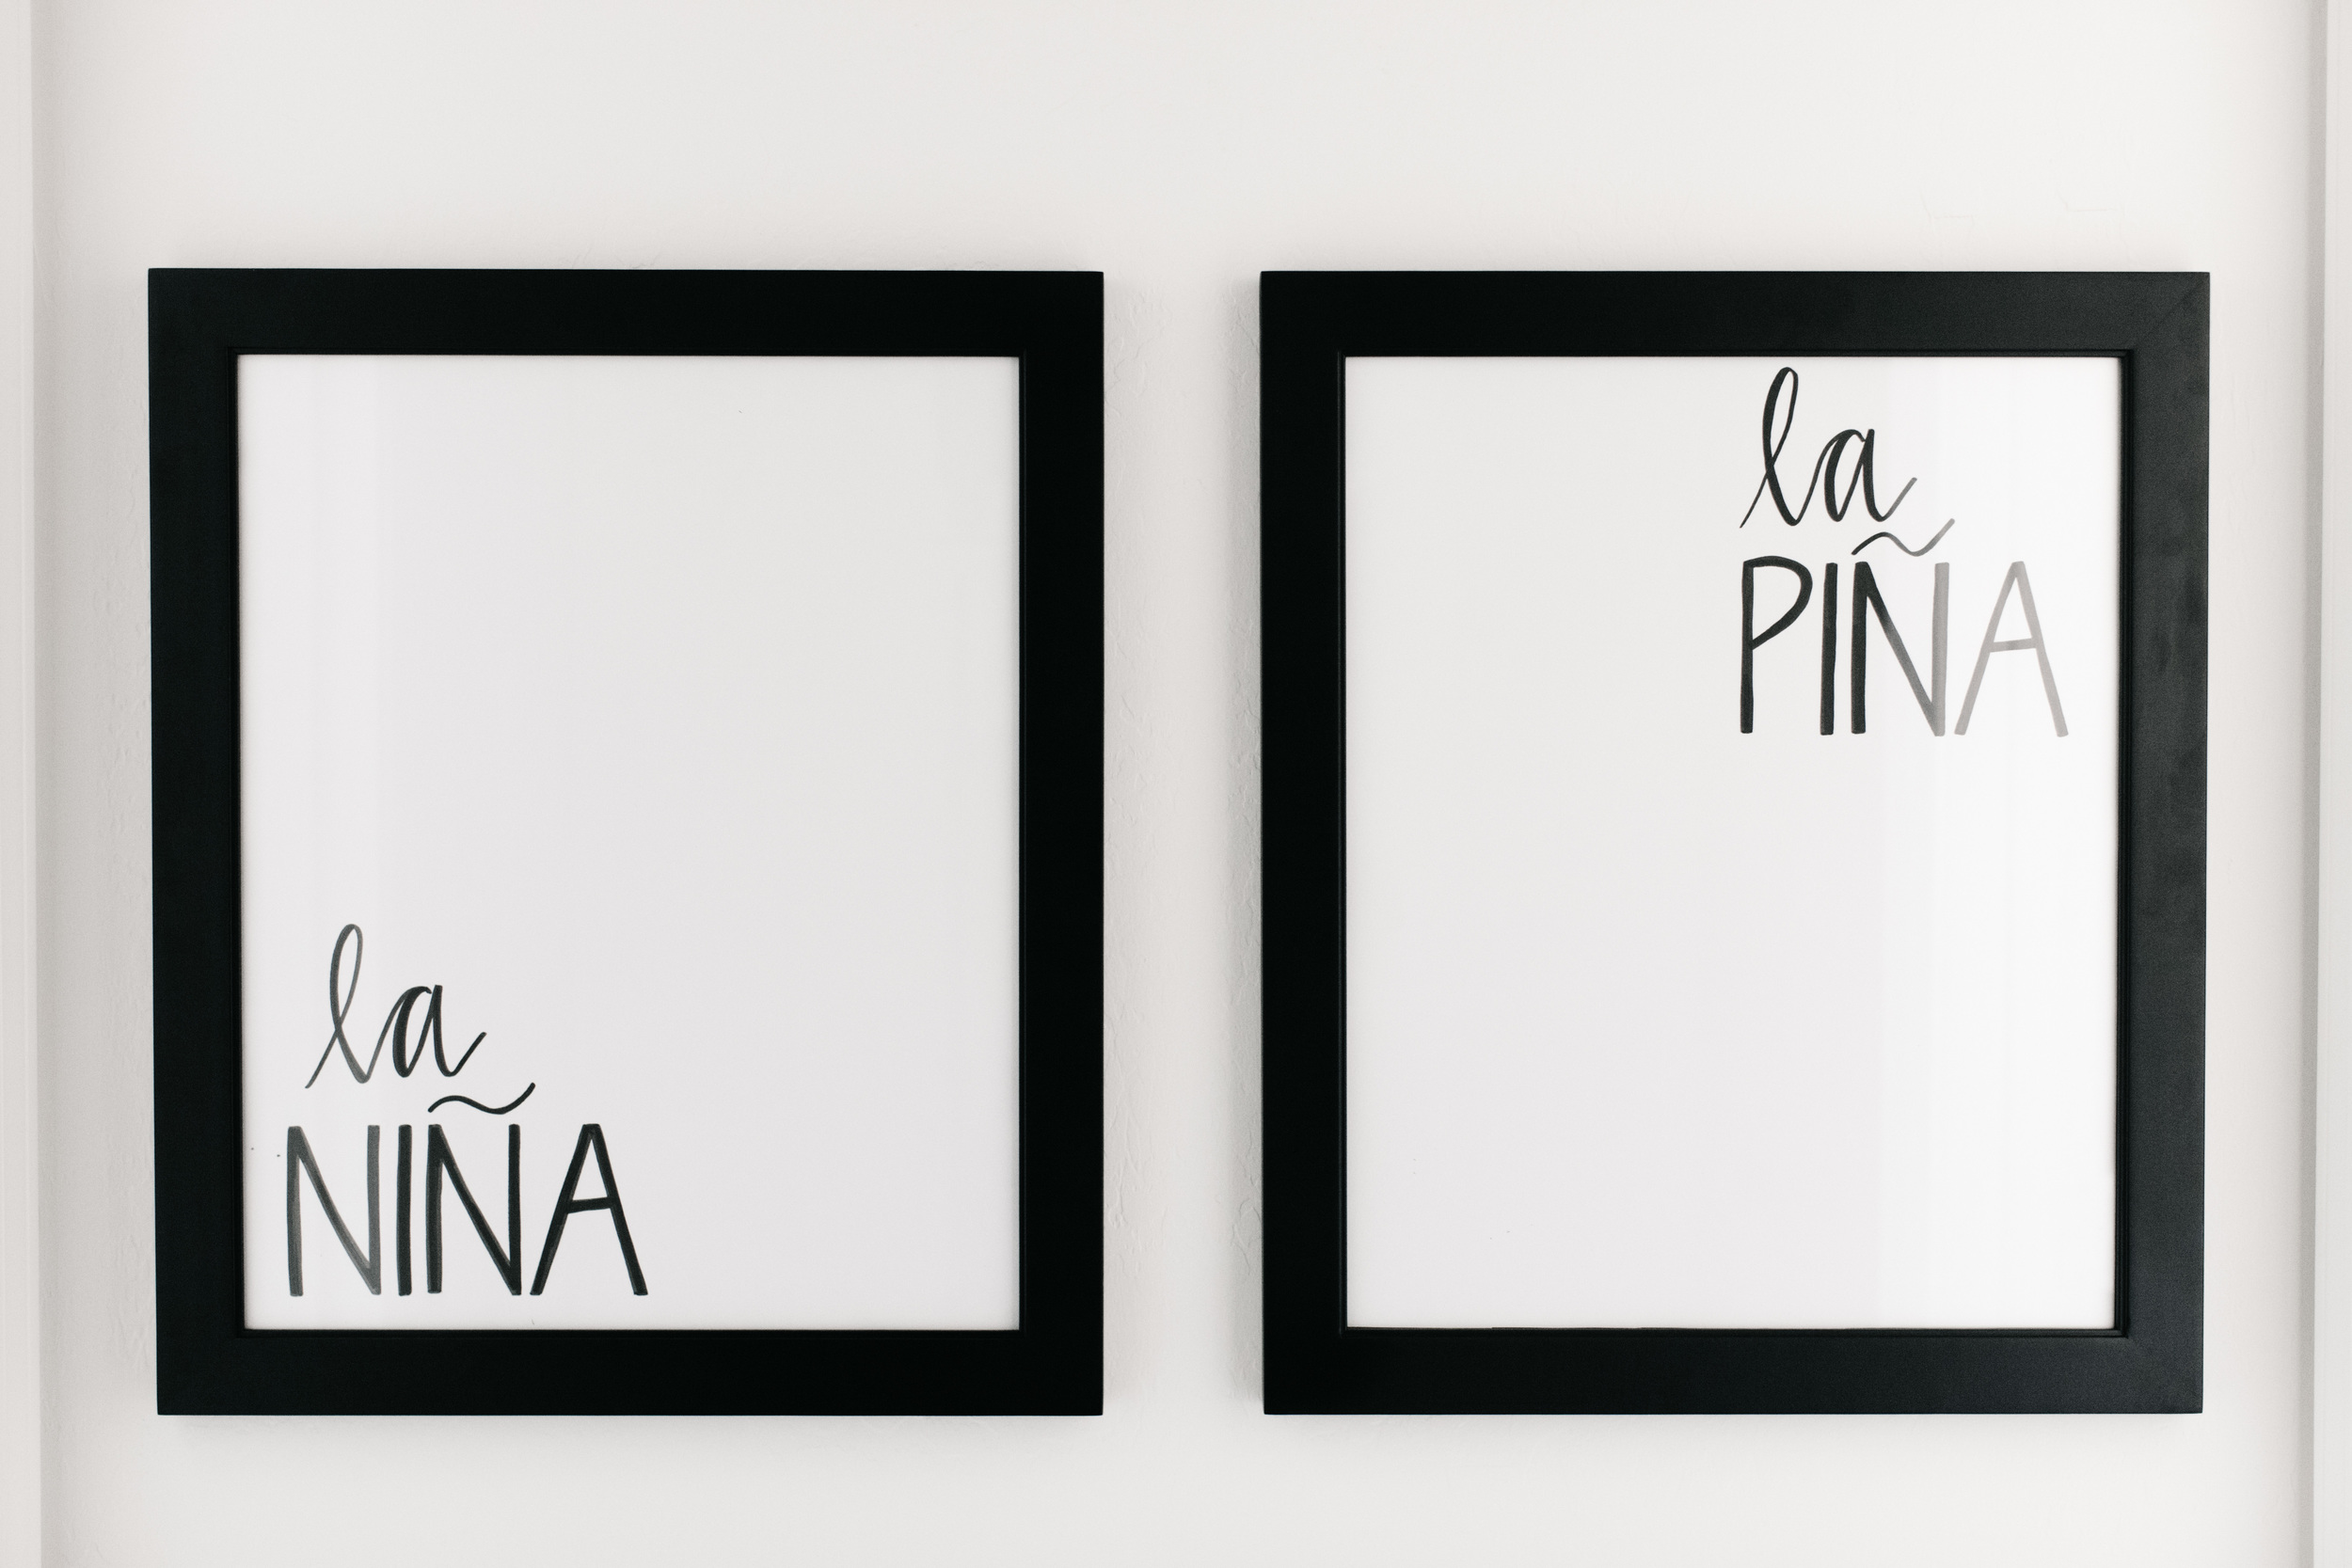
Last, but not least, I made sure there was a tray of welcome gifts and small design accents to make the space feel homey. A pitcher, a notebook for messages, a good smelling candle, wrapped soaps to enjoy, lavender body lotion and even brass keys to make it really feel like a hotel. I even had my friend Katie Sterbenz design a sign for the room showing wear to go to enter the oasis. On the right, the guest room, and on the left, Elle's room.

I hope you love the room as much as I do. I'm considering inviting all tired moms who need some sleep to come and use it. haha! But seriously, if you love this room you can WIN it. Living Spaces is doing a Pinterest contest where you can win a $2,500 gift card to shop this room or buy other elements that make up your dream space. Click here to enter. Be sure to check out their 4th of July sale to find amazing deals too!

To shop the space be sure to visit my Pinterest board with all of the items. 

Photos by Rennai Hoefer

SUBURBAN KITCHEN TRANSFORMATION

We always said we would never live in the suburbs. Well, never say never folks because we are rockin' the suburbs now. Maybe the minivan will come next because we also said we would never buy one of those too. We moved away from the city because Ryan was commuting an hour each way to work and we were craving way more family time. It was bittersweet to say good-bye to our cute 1950's ranch house and buy a home in a development where all of the architecture looks the same. Afterall, it was our first house, the place we brought Elle home to and we had put a ton of work into it.  

When we found our new home we knew it would need some work to update it, but the layout and bones were perfect. Ryan and I decided the first thing that we would going to do was repaint the whole house white, replace the flooring downstairs and upstairs and get new appliances. We wanted to start with a clean slate, and the first room to tackle was the kitchen.

As I am sure you know everyone congregates in the kitchen no matter how big or small. You cook three meals a day in there, and with little ones I'm always in there getting snacks too. This kitchen had the original appliances from the 1990's. They were functioning, but the oven seemed like it was going to fall over when you opened the door. We upgraded to stainless steel Kitchen Aid appliances. Though their original oven was electric we saw there was a gas line available, so we chose a gas stove. We are super happy with everything except the fridge. It feels a bit cheap when you open the freezer. 

We chose to pain the walls and cabinets West Highland White by Sherwin Williams. We LOVE this white. It's warm and bright and not too yellow at all. For the new floors we picked out a hand-scraped hickory that had a lot of color variation. We wanted to minimize the appearance of scratches or marks, and we are sooooo happy with this choice. It goes with all of our furniture really well.

I knew I wanted to add hardware to the cabinets. I was toying with the idea of gold handles, but I would have add to change out all of the hinges because you could see the antique brass poking through. Instead, I went with antique brass modern handles from PullsDirect.com. They were under $3 a handle verses $8 to $12 for gold. With 30 cabinets to accessorize you bet I went with the cheaper option. 

We weren't in love with the existing beige speckled countertops, but we didn't have the budget to replace them all. Instead, I found mini hexagon marble tiles that had some flecks of brown in them but also incorporated gray and white. By splurging on carrera marble we were able to elevate the kitchen without having to spend the extra amount on the countertops. 

We are so in love with our newly upgraded kitchen. It finally feels like "us." Sadly, however, a month after we renovated our kitchen flooded and destroyed our new floors and lower cabinets. Luckily we have some leftover wood and the damage isn't too bad, but it definitely is frustrating that we have to rip up the floors again. Oh well! That's life I guess. haha.

How to Spruce Up a Fake Wreath

MelissaJill_Cocacola_63blog.jpg

This post is sponsored by Coca-Cola.

Decorating for the holidays is one of the best traditions of all. Growing up in Wisconsin we always bought a real Christmas tree and had real wreaths hung on our doors, but living in Arizona when the temperatures can still get into the 80's during the day, real greens dry out quickly. So, for the past 8 years I have opted for faux evergreen, and I must say it's a lot easier, less messy, better for the environment and more cost effective. However, there's just something missing when you know it's fake. So, here's a little DIY process on how you can spruce up our fake wreath to get the best of both worlds:

View More: http://melissajill.pass.us/cocacola

Materials Needed: One fake wreath Two to three different bundles of real greens or berries Florist wire Shears Ribbon to hang wreath

Steps:

1| Choose a simple fake evergreen wreath. I found mine at Ikea.

2| Buy a couple bunches of greens and berries from your local grocery store or florist. (You can even include air plants). We used eucalyptus and red berries. I've seen magnolia leaves and rosemary used as well. You want to add different textures than the evergreen to give dimension and color. It will help the wreath appear fuller.

3| Clip a small spray of berries, poke it through until you can see the stem in the back of the wreath. Then fasten the stem to the wreath using florist wire (you can purchase it at Michael's).

4| Repeat step three with the other live greenery you purchased. Alternate around the wreath.

View More: http://melissajill.pass.us/cocacola

5| Once you have gone around the whole wreath, select your ribbon and tie it to your door or place your wreath around your dog for a picture perfect photo. (Our golden-doodle, Wendy, was a real sport).

MelissaJill_Cocacola_25blog

Photos by Melissa Jill Photography; florals by Hoot and Holler; art direction by A.V.E. Styles