PIPE LAMP DIY

This post is sponsored by The Home Depot.

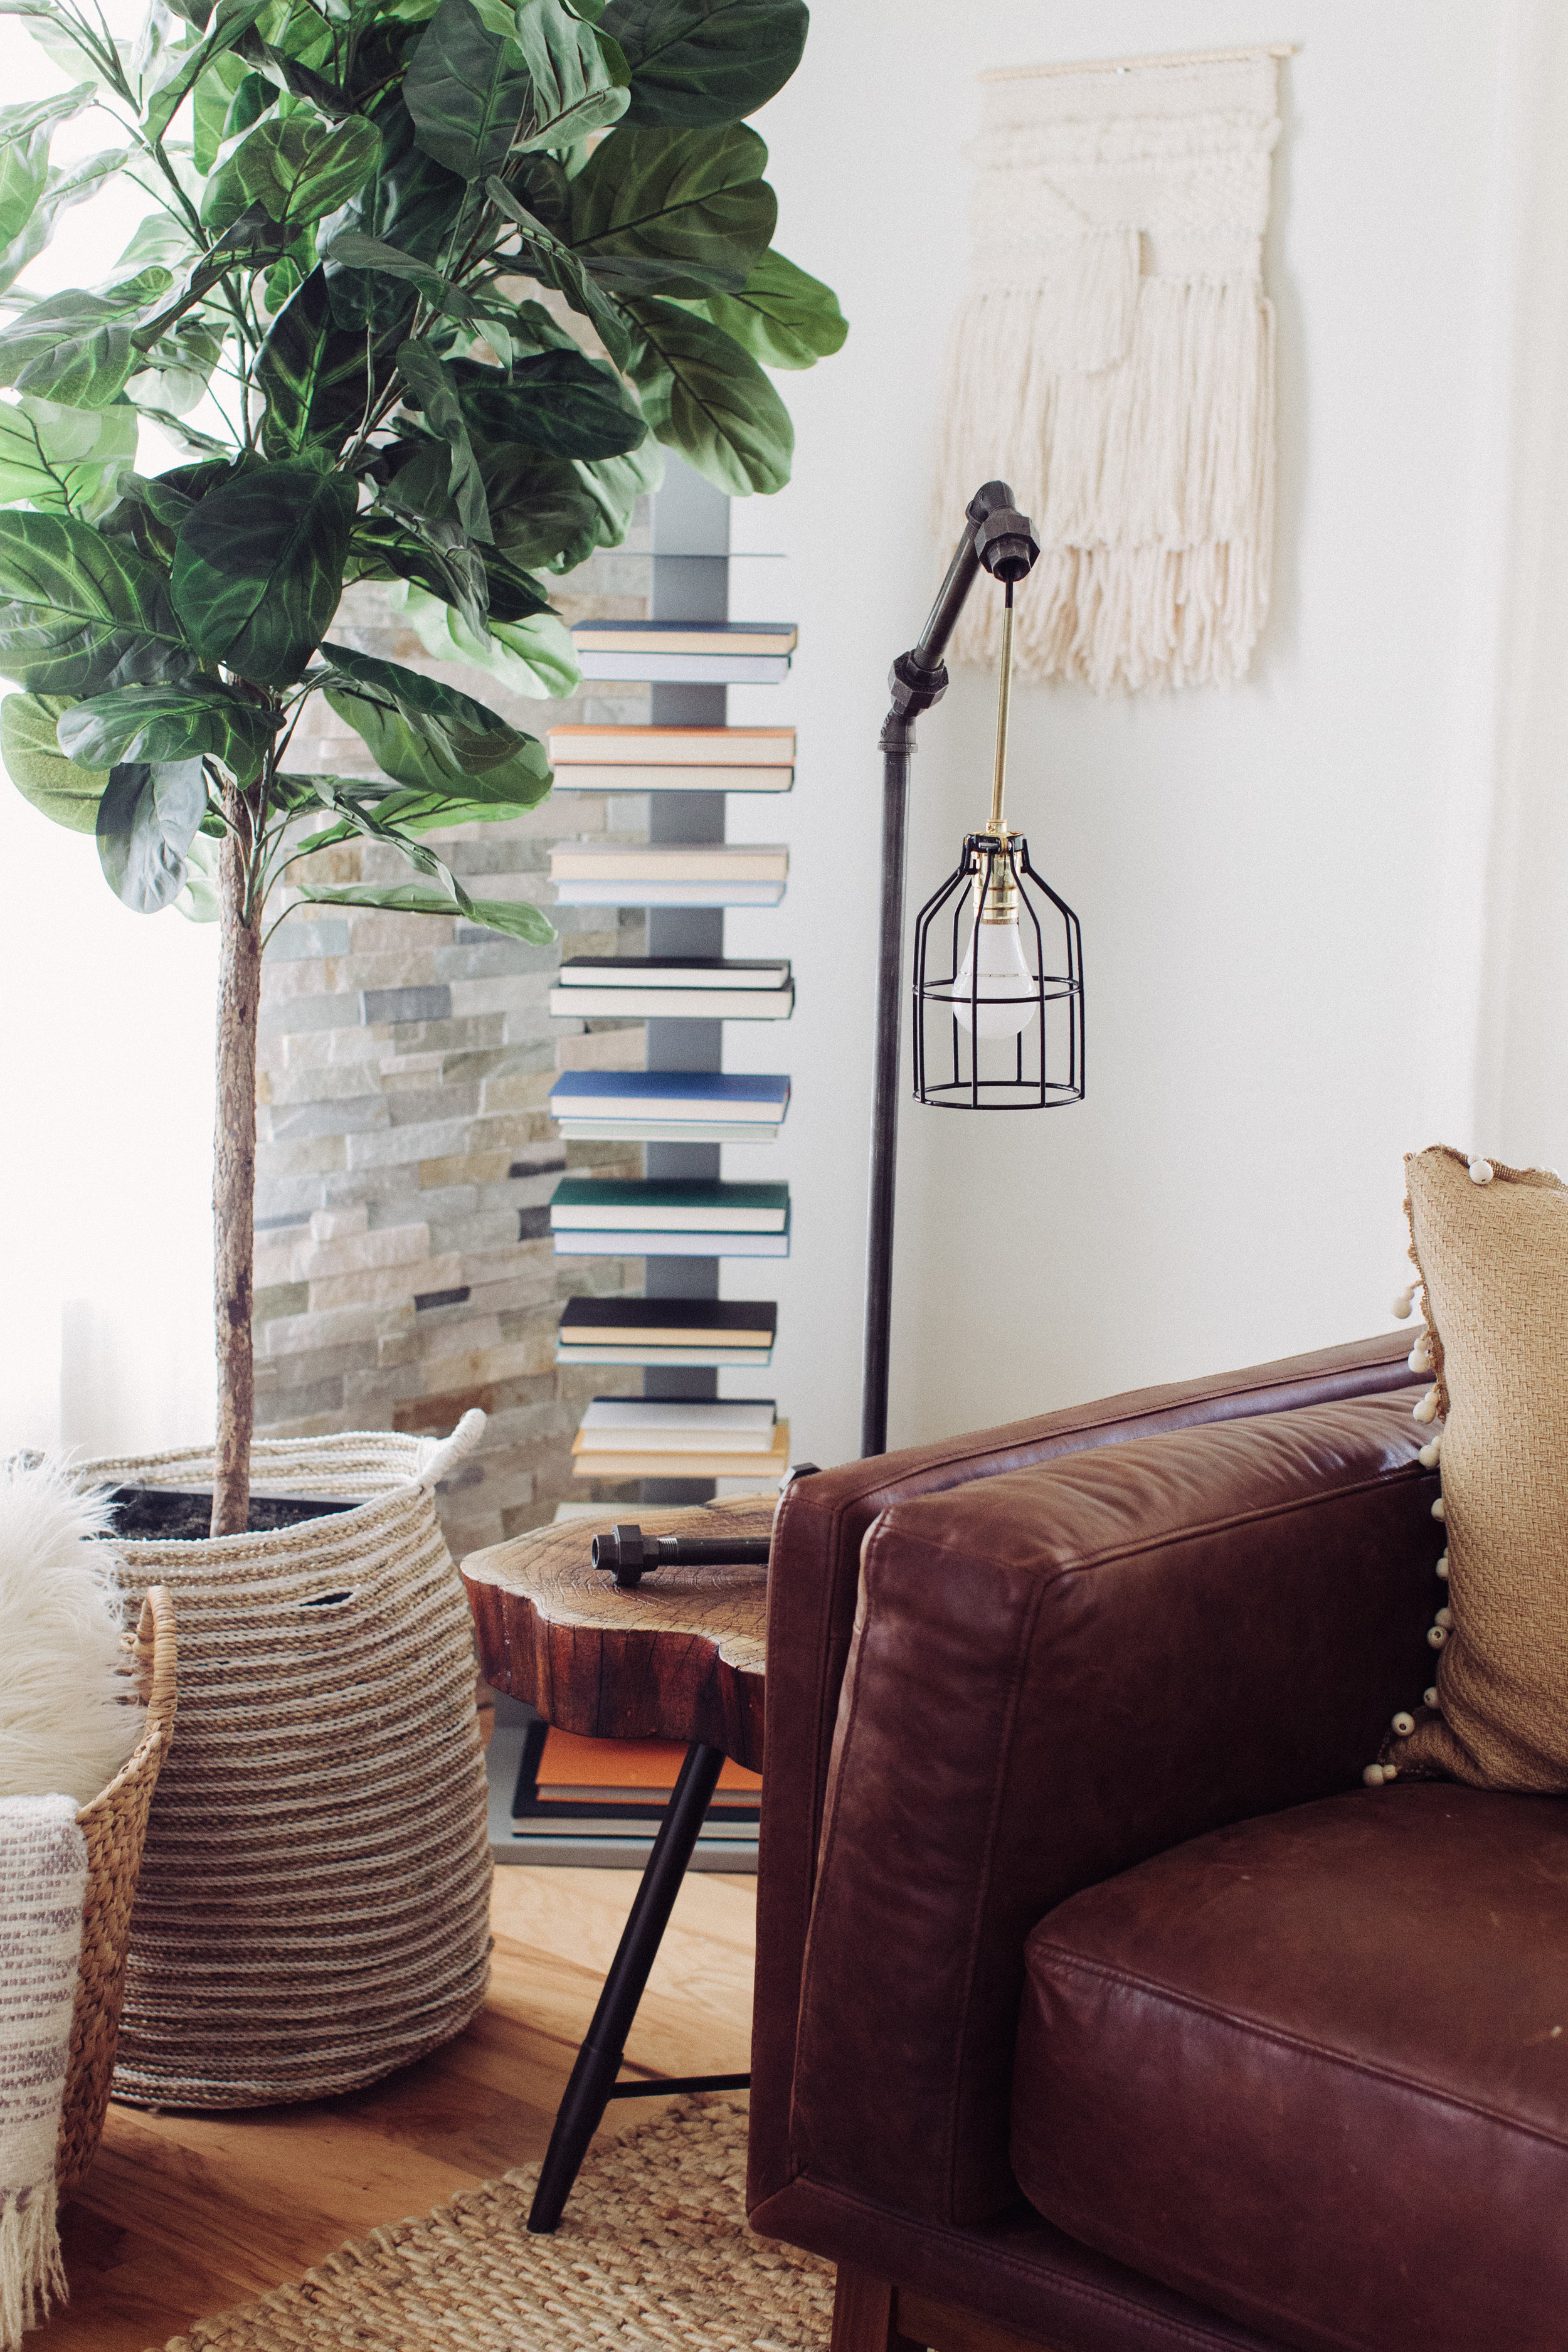
As I have started to complete the decorating process for our family room, I realized there was a necessary "living" element missing from our space - light. We have plenty of natural light during the day, but other than some recessed lights in the ceiling we have nothing. I've learned over the years that side lighting is the most flattering on people, as well as functional when you're sitting down to watch a movie or read a book. Downward lighting can cause harsh shadows, but is great for illuminating a large space. Spaces need both, so I partnered with The Home Depot to create a light for our family room. 

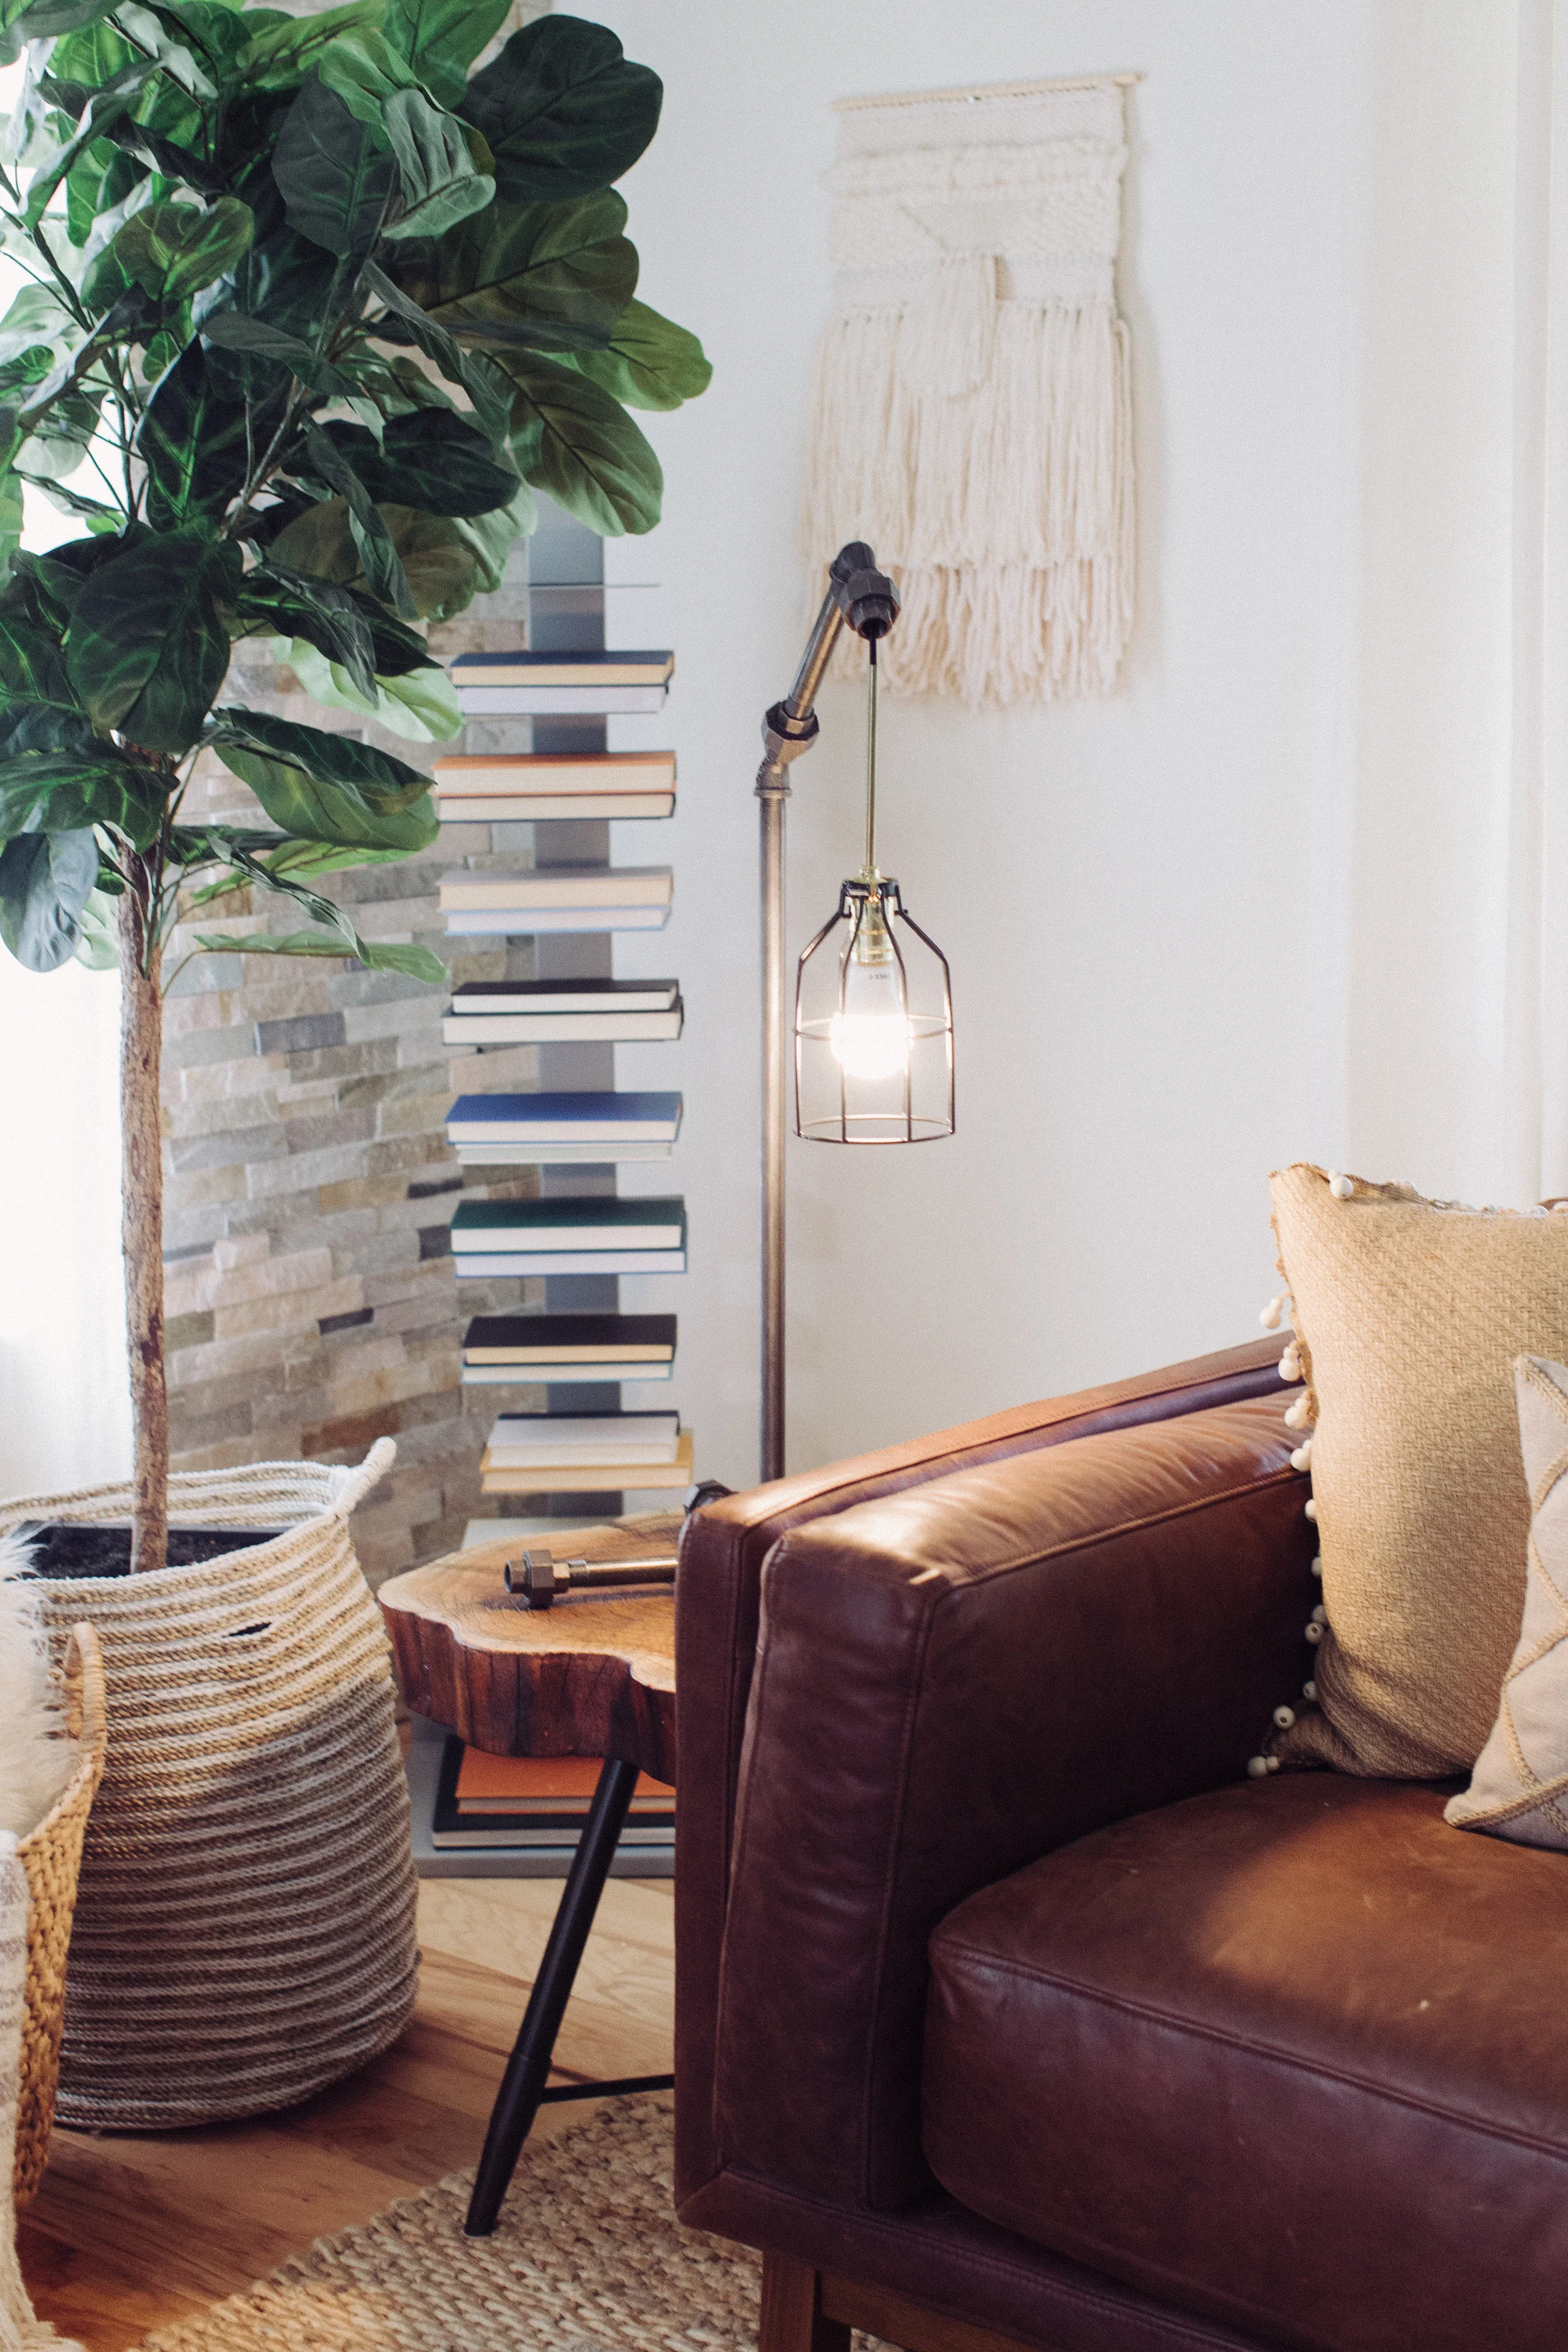
If you have followed me for long you know that I'm not much of a DIY-er. In fact, most DIY's scare me. I'm that mom that buys the store-made Valentine's and puts my kids names on them and calls it a day. When it comes to decor, however,  and I can't find what I'm looking for, that's enough motivation to make me attempt a DIY. I love the industrial look of pipe lights, and I wanted to try my hand at making my own. LDR Pipe Decor makes pipe DIY's so easy. Everything fits together, so you just need to have an idea and shape in mind. I built my lamp base in under five minutes it was that easy. 

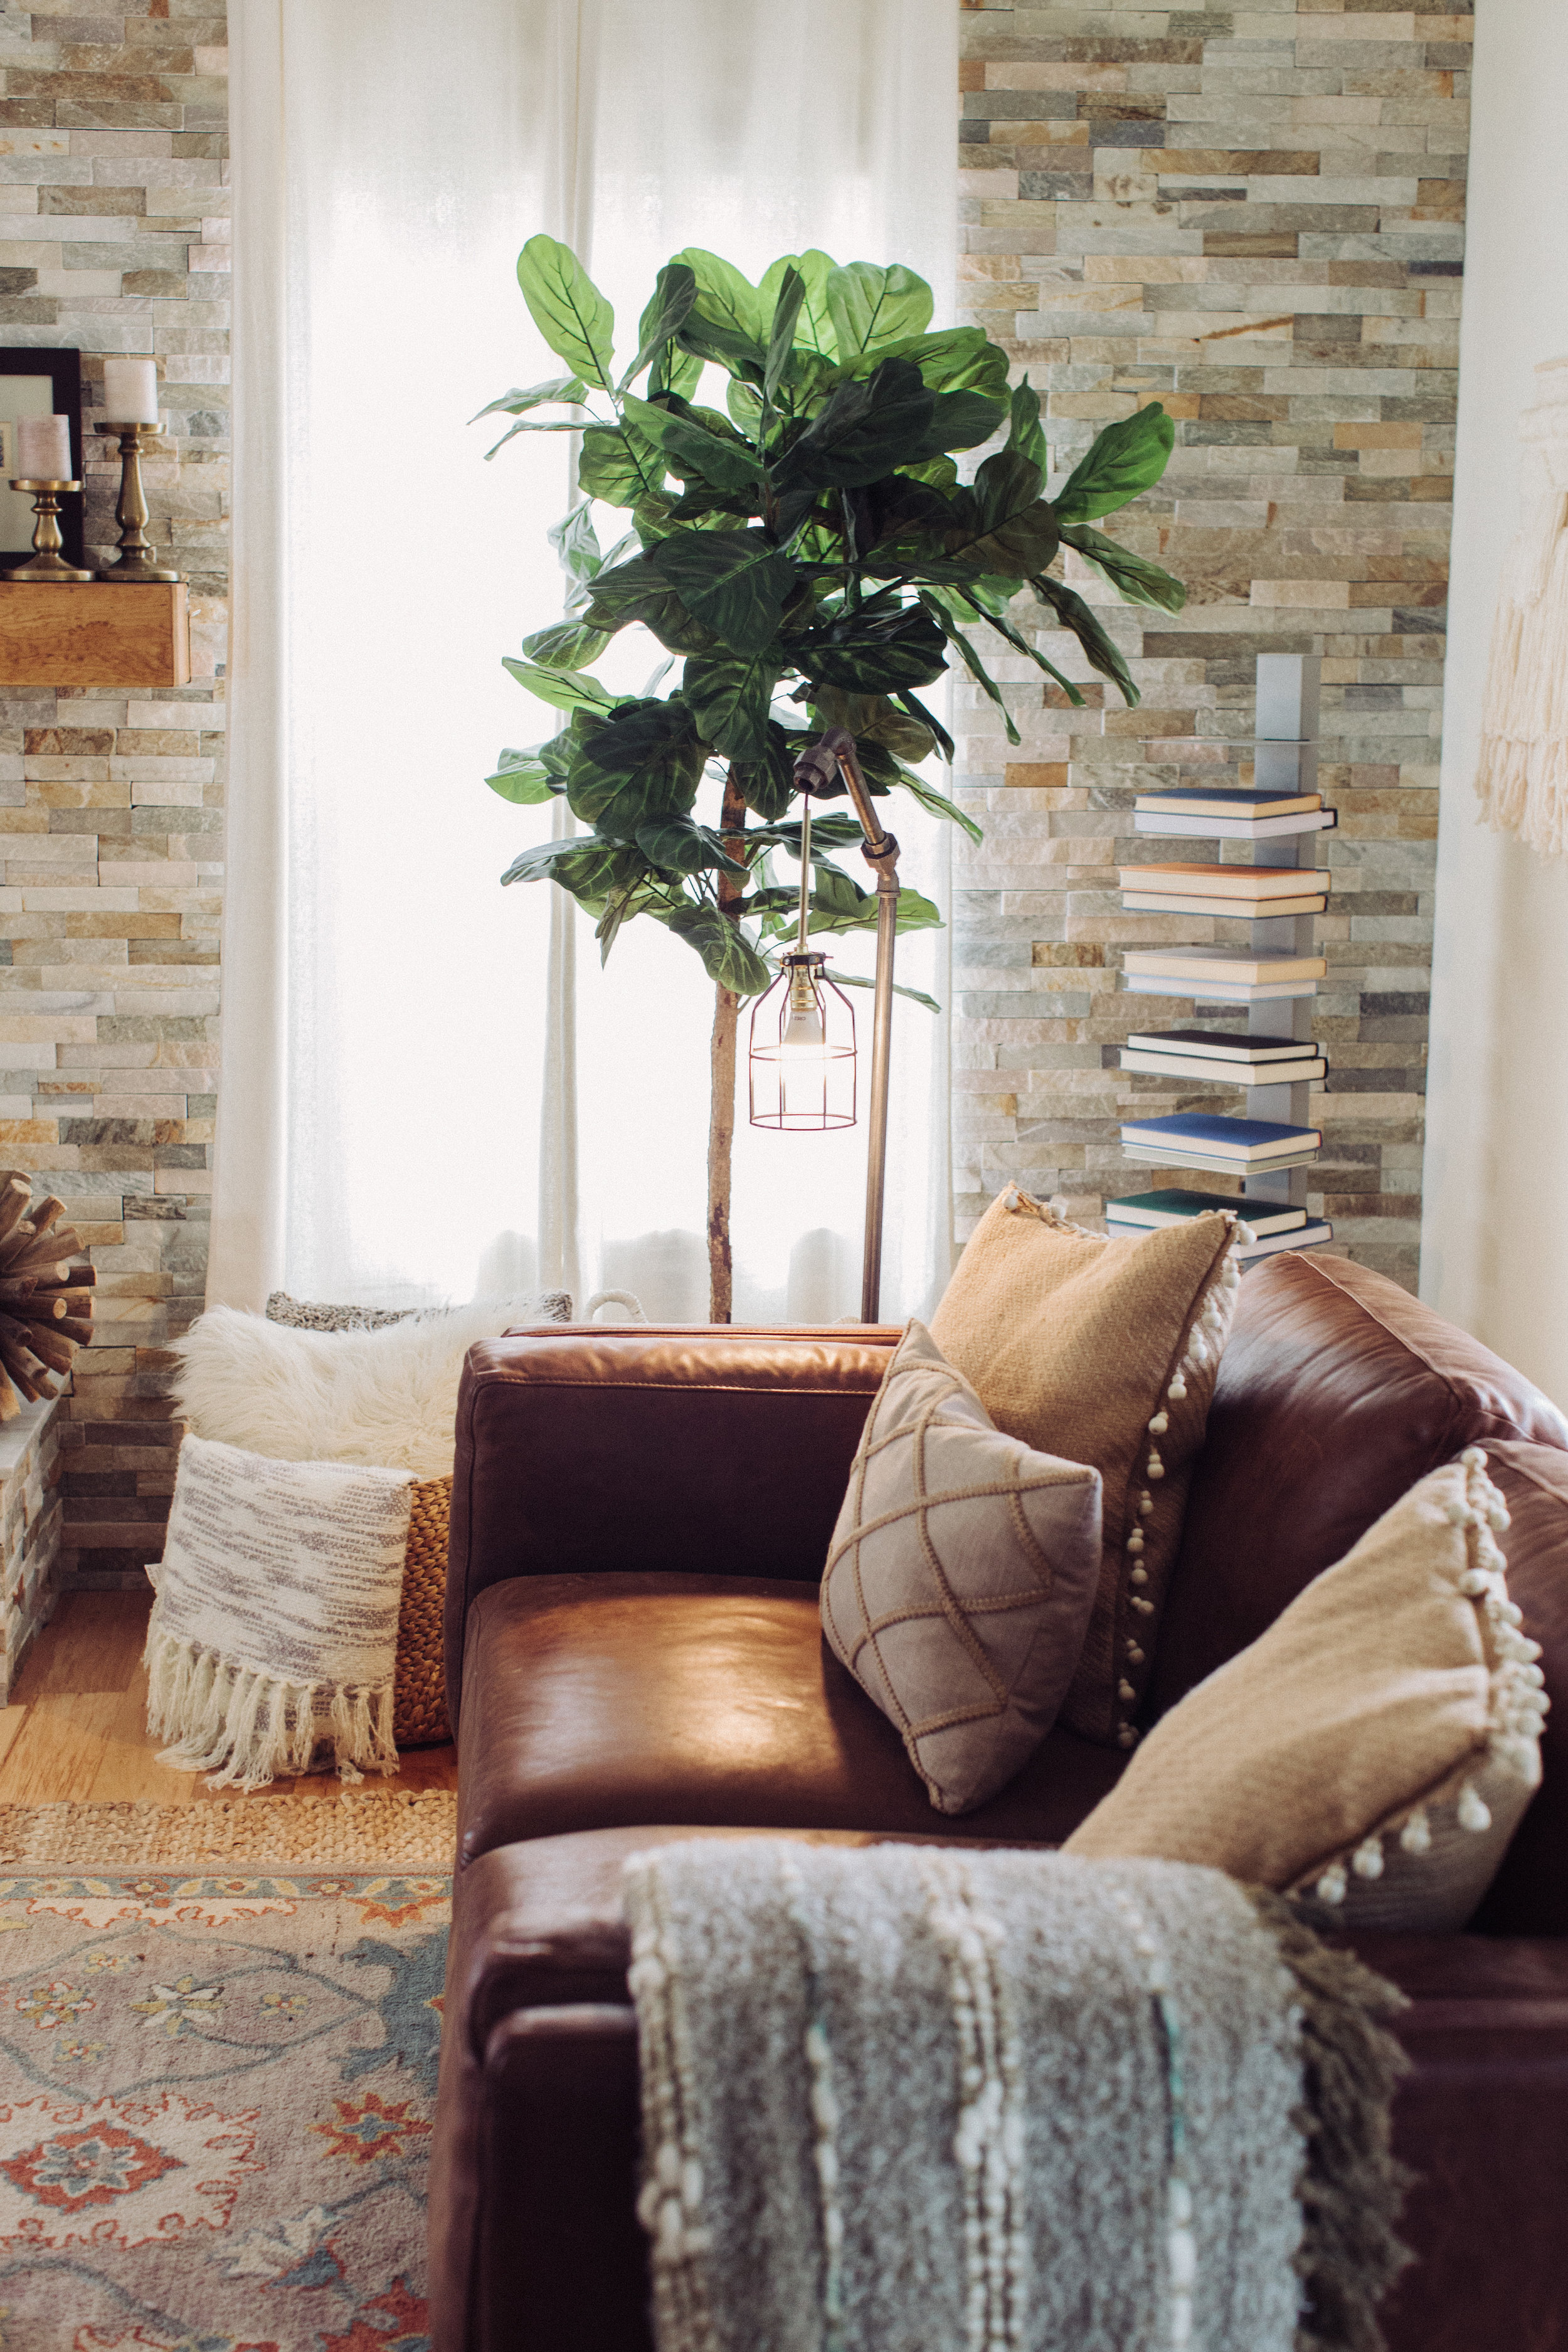
You can also buy lighting kits at The Home Depot. The directions for how to wire your lamp is on the back of the package. Seriously, so simple! I used both an LED light bulb and a vintage style bulb so you can see the difference. Obviously, saving energy in our home is a priority so we went with a Cree LED bulb.

You can get the step-by-step tutorial to creating a lamp just like mine on The Home Depot's blog. It costs about $90 to make the whole thing. Not too bad for a brand new industrial style lamp.

Photos by Rennai Hoefer

SUBURBAN KITCHEN TRANSFORMATION

We always said we would never live in the suburbs. Well, never say never folks because we are rockin' the suburbs now. Maybe the minivan will come next because we also said we would never buy one of those too. We moved away from the city because Ryan was commuting an hour each way to work and we were craving way more family time. It was bittersweet to say good-bye to our cute 1950's ranch house and buy a home in a development where all of the architecture looks the same. Afterall, it was our first house, the place we brought Elle home to and we had put a ton of work into it.  

When we found our new home we knew it would need some work to update it, but the layout and bones were perfect. Ryan and I decided the first thing that we would going to do was repaint the whole house white, replace the flooring downstairs and upstairs and get new appliances. We wanted to start with a clean slate, and the first room to tackle was the kitchen.

As I am sure you know everyone congregates in the kitchen no matter how big or small. You cook three meals a day in there, and with little ones I'm always in there getting snacks too. This kitchen had the original appliances from the 1990's. They were functioning, but the oven seemed like it was going to fall over when you opened the door. We upgraded to stainless steel Kitchen Aid appliances. Though their original oven was electric we saw there was a gas line available, so we chose a gas stove. We are super happy with everything except the fridge. It feels a bit cheap when you open the freezer. 

We chose to pain the walls and cabinets West Highland White by Sherwin Williams. We LOVE this white. It's warm and bright and not too yellow at all. For the new floors we picked out a hand-scraped hickory that had a lot of color variation. We wanted to minimize the appearance of scratches or marks, and we are sooooo happy with this choice. It goes with all of our furniture really well.

I knew I wanted to add hardware to the cabinets. I was toying with the idea of gold handles, but I would have add to change out all of the hinges because you could see the antique brass poking through. Instead, I went with antique brass modern handles from PullsDirect.com. They were under $3 a handle verses $8 to $12 for gold. With 30 cabinets to accessorize you bet I went with the cheaper option. 

We weren't in love with the existing beige speckled countertops, but we didn't have the budget to replace them all. Instead, I found mini hexagon marble tiles that had some flecks of brown in them but also incorporated gray and white. By splurging on carrera marble we were able to elevate the kitchen without having to spend the extra amount on the countertops. 

We are so in love with our newly upgraded kitchen. It finally feels like "us." Sadly, however, a month after we renovated our kitchen flooded and destroyed our new floors and lower cabinets. Luckily we have some leftover wood and the damage isn't too bad, but it definitely is frustrating that we have to rip up the floors again. Oh well! That's life I guess. haha.

Baby Room Inspiration

Happy Friday! I'm officially six months pregnant today, and that means it's definitely time to start working on my baby room starting this weekend! This was definitely not one of my 2012 Home Decor Goals, but hopefully, that won't stop me from doing some other home improvements too.

So, of course, fashion is always influencing me, and I've decided to follow the summer color trends by designing her room in coral and a minty teal with metallic accents. Thanks to the fabulous technology of Polyvore.com, I can show you an inspiration board. I think I would be lost without this step for any creative project.

We have already found our crib, a mid-century credenza for a changing table, a rocking chair that is being reupholstered, curtains and picked out paint. Now, it's just down to putting it all together.

Wish me luck! Can't wait to show you pics when it's done! And, feel free to follow my nursery finds on Pinterest! I couldn't resist creating a baby board. http://pinterest.com/alexandraevjen/baby-time/