ONE BENCH THREE WAYS WITH ARTICLE

Sente024.jpg

This post is sponsored by Article.

I’m sure, more than ever, you are itching to decorate or redecorate the rooms in your home now that you have been quarantined for two months and stared at the same walls for hours. I know I am! I’ve already hung many frames and paintings that have been sitting on the floor of my closets, and it feels so good.

Sente011.jpg

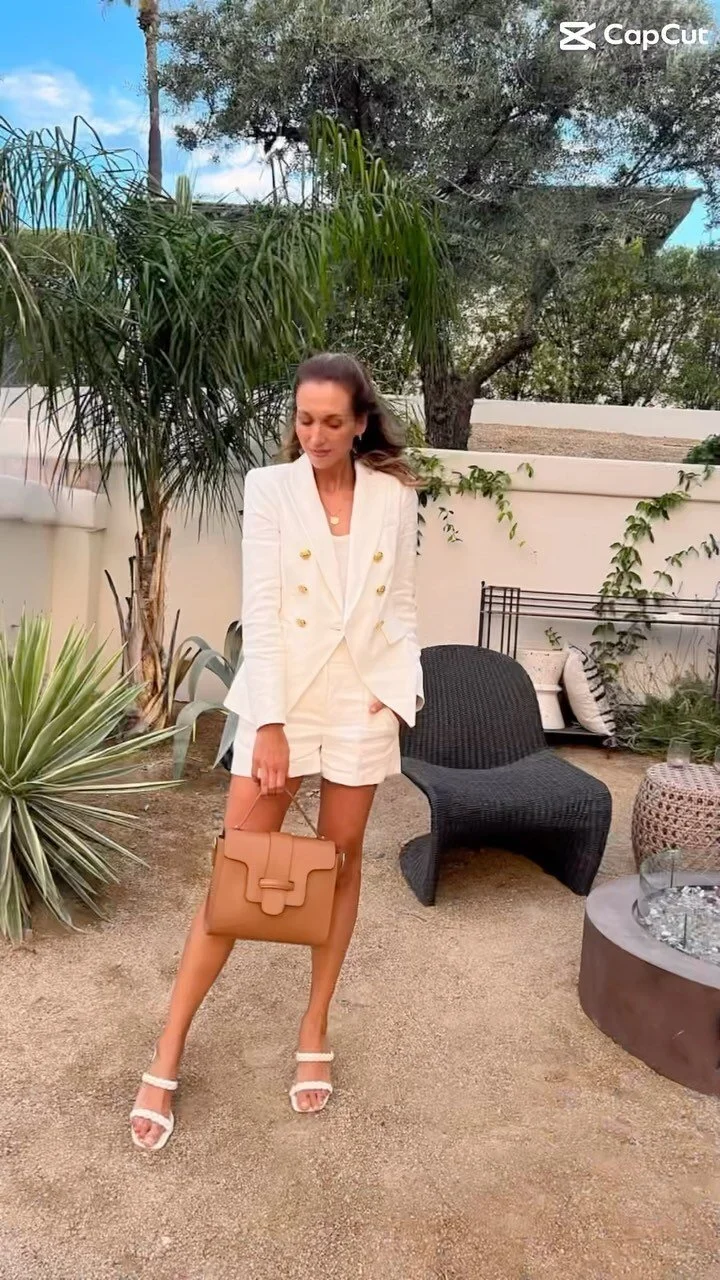
Well, perhaps you are in need of a bench, and I have just the one for you. I’ve partnered with Article to show you how to utilize a modern, classic bench three different ways. The Sente Devon Ivory Bench is as versatile as they come. It isn’t just a generic wood bench. Nope, it’s a comfortable wood and fabric bench that invites you to sit down and stay awhile. 
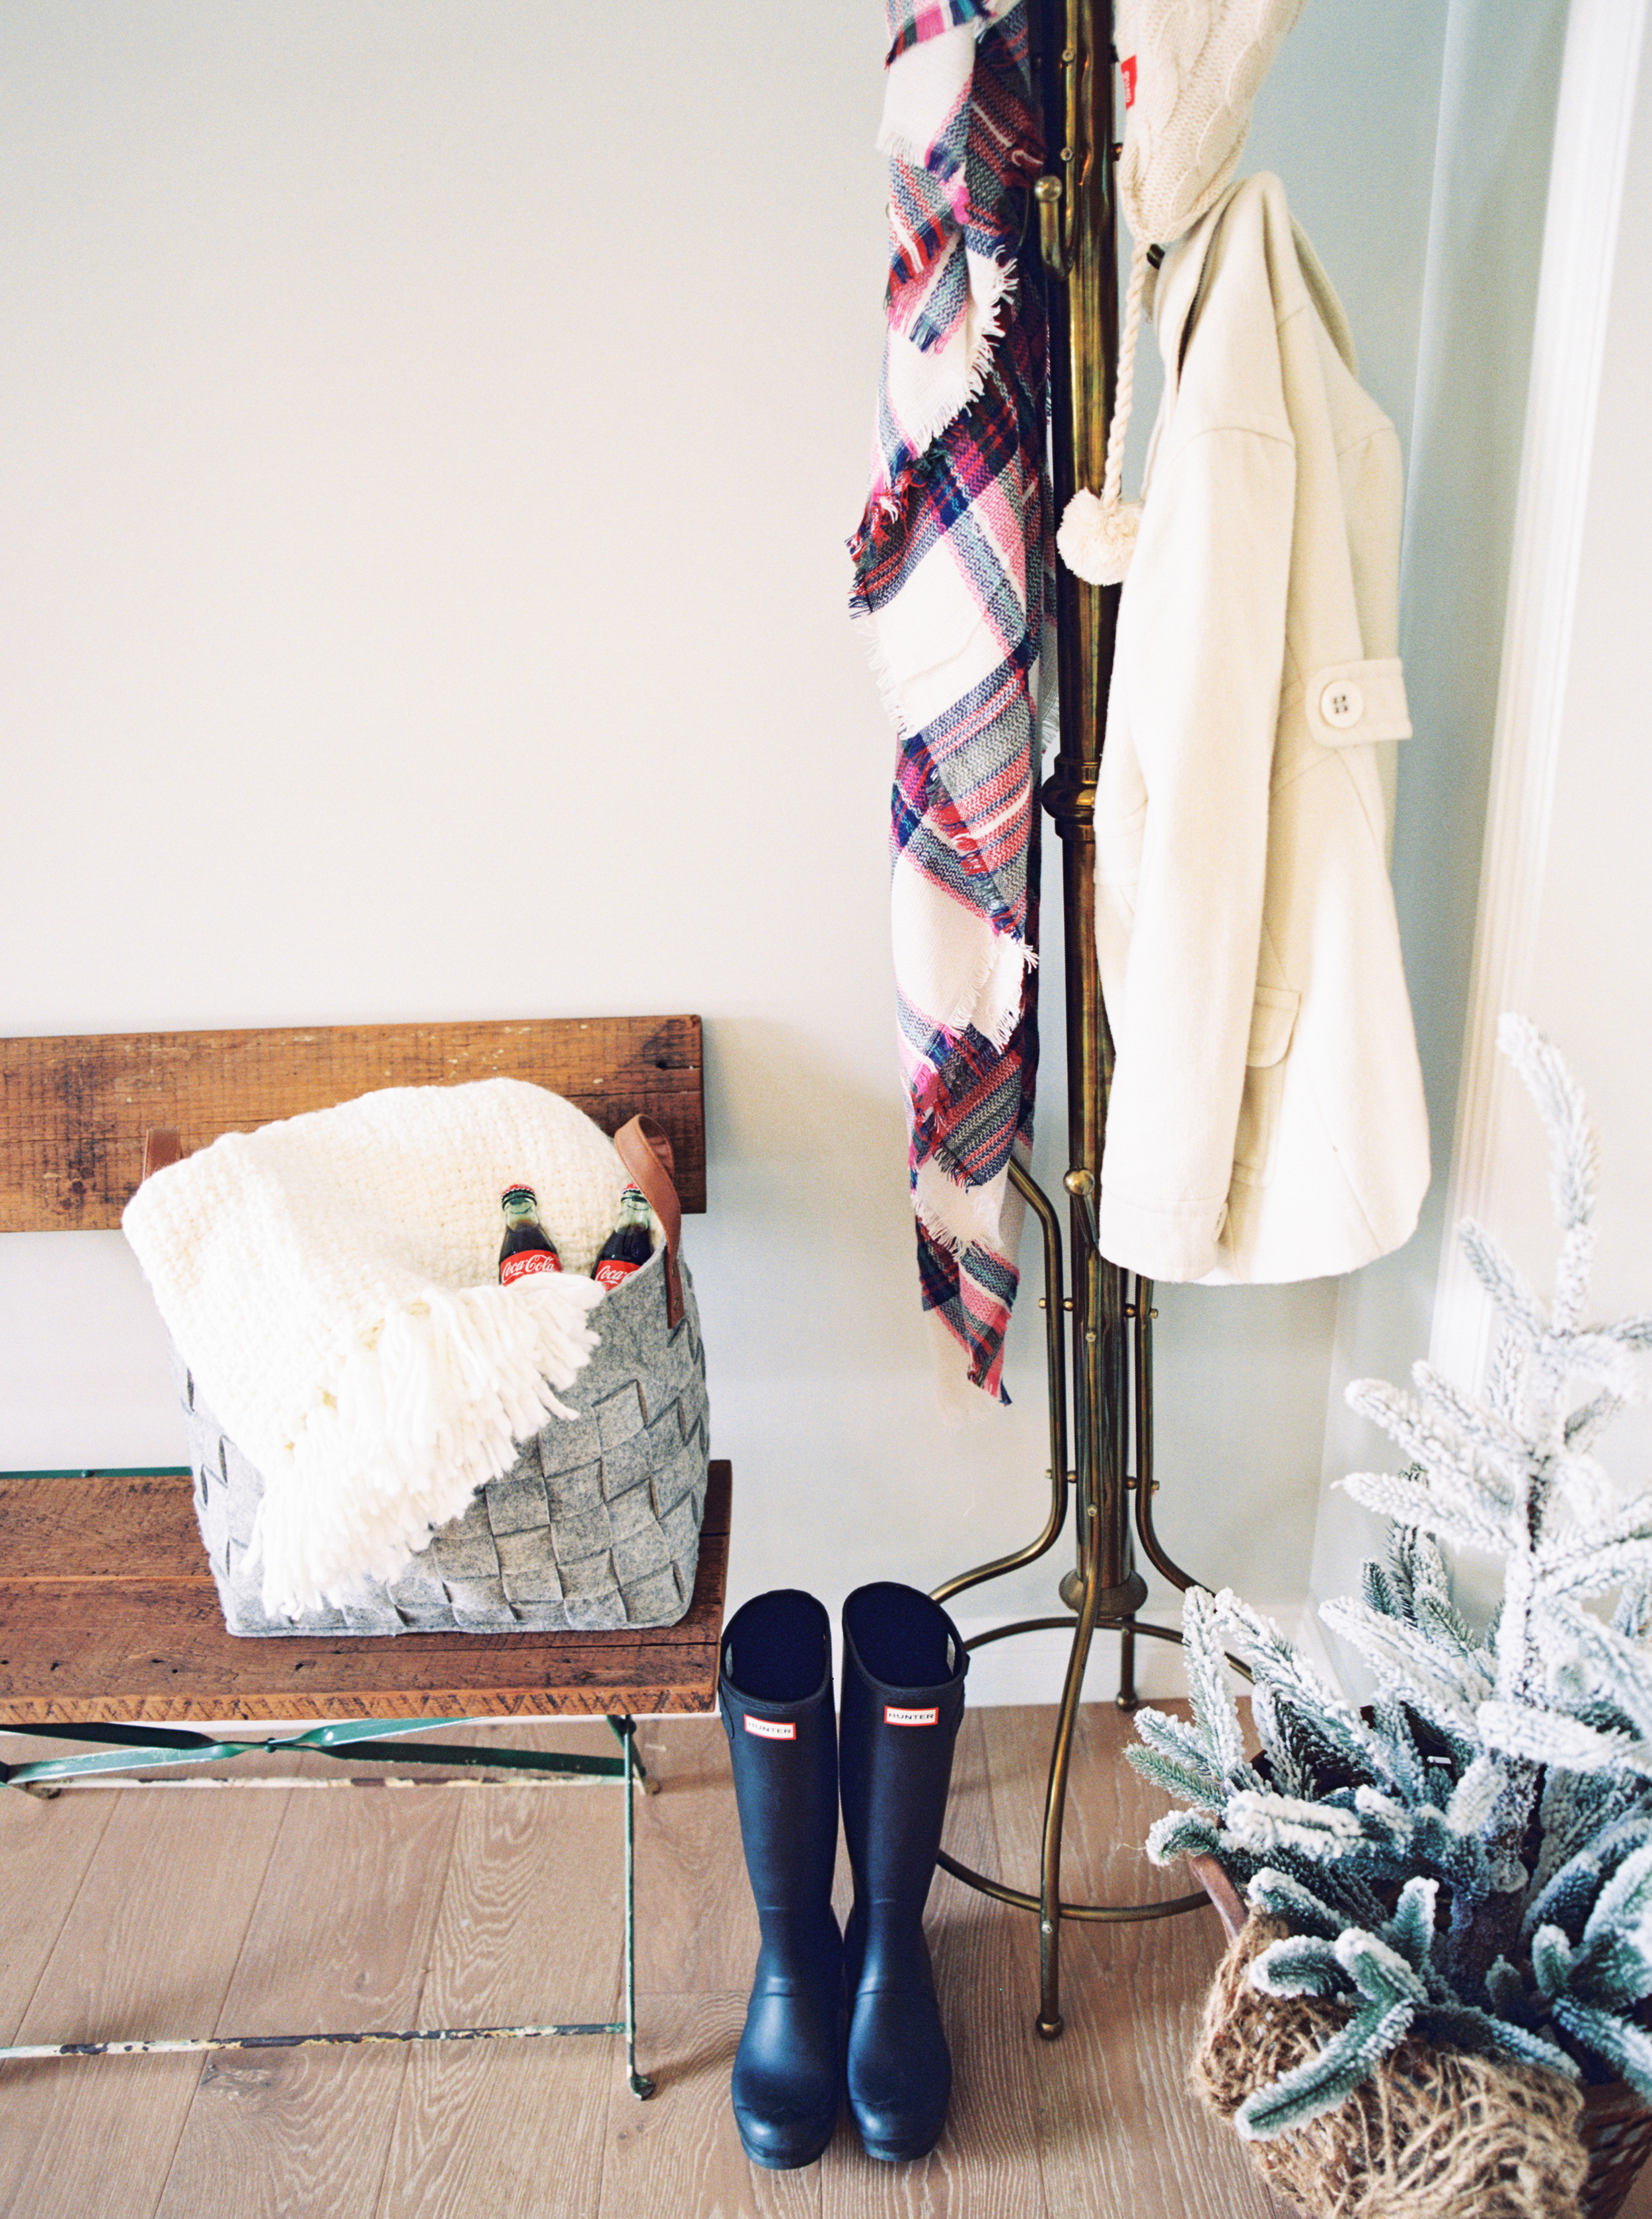
Sente021.jpg

ENTRYWAY 

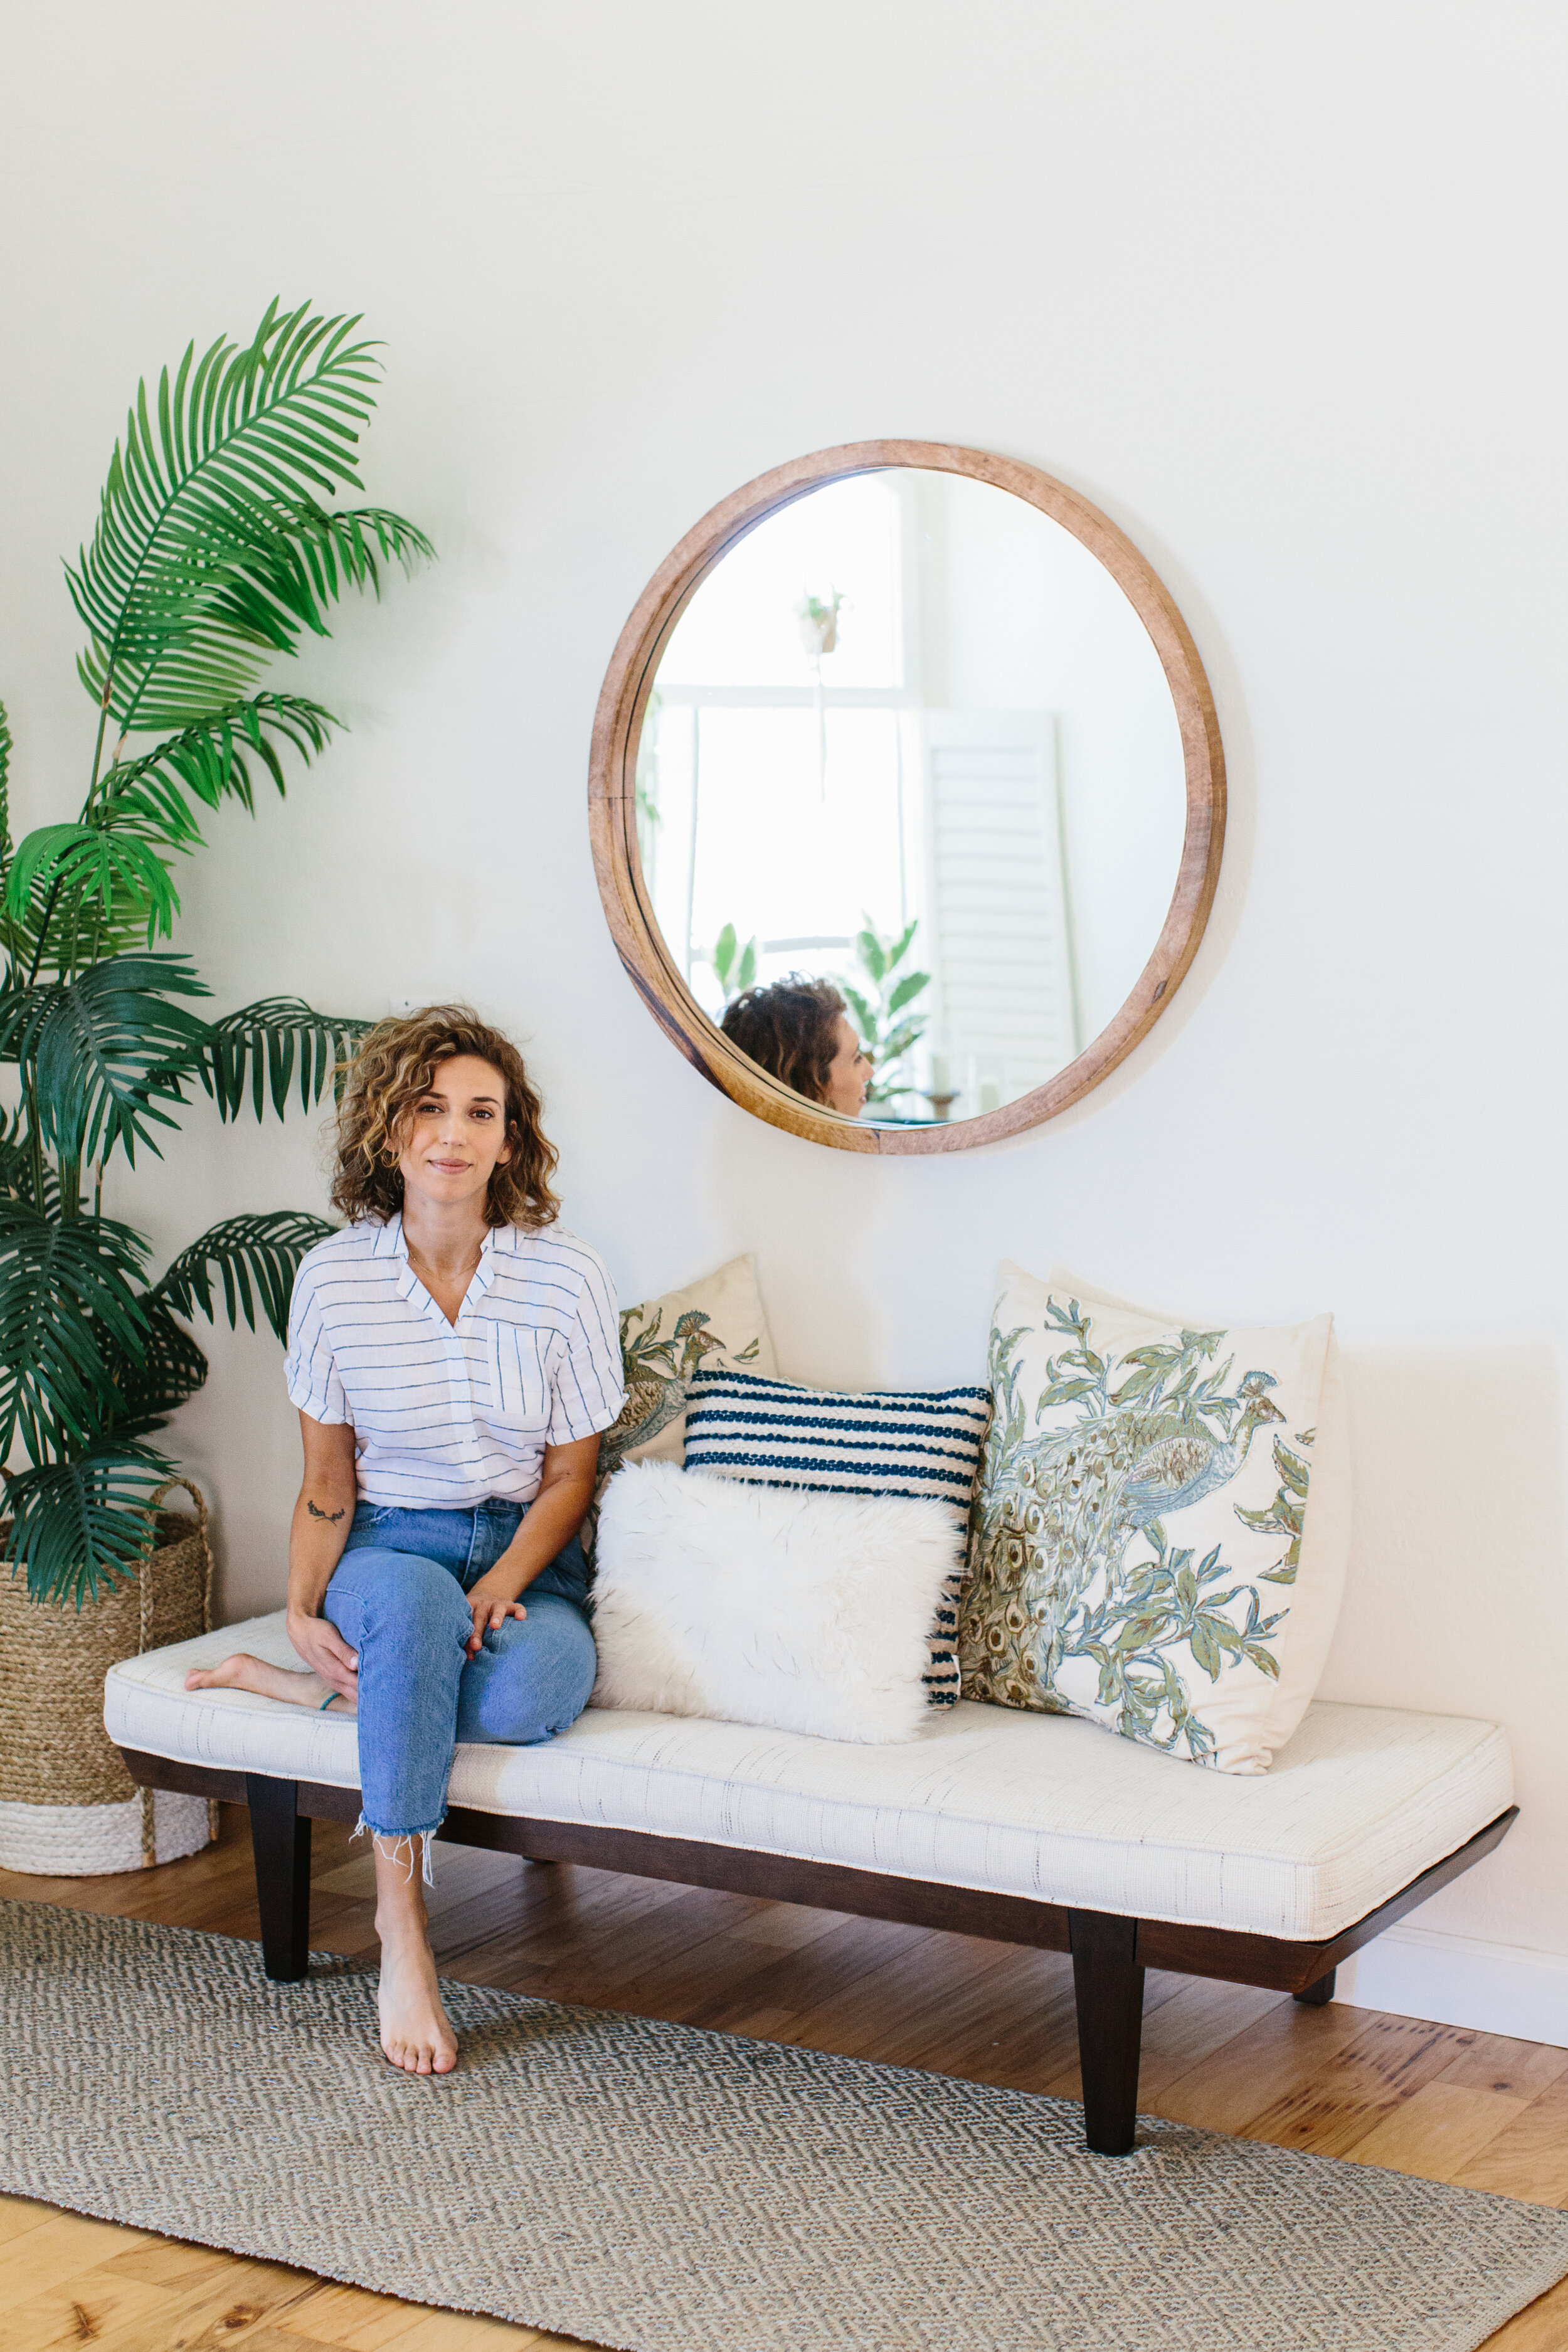
That’s why it’s great for an entryway. To be greeted with such beauty and comfort the minute you step into your home feels like you are being greeted by your gorgeous, uber-stylish aunt for Thanksgiving dinner. Kick your shoes off and set them underneath the bench or set your handbag on top and stay for a while. You can style the bench with pillows for extra texture and comfort. You can even style a throw on it or set a tray down with a plant on top.
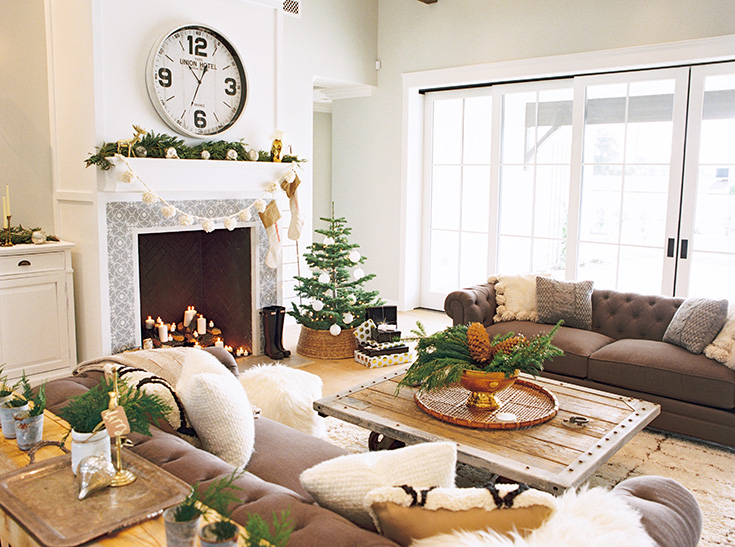
991A5762.jpg

LIVINGROOM

This bench provides extra comfortable seating for living rooms too. If you have a large family or you like to entertain often, this is a great option to be able to add additional seating without having to overwhelm a room with a massive sectional sofa. You can add some pillows for back support or lay across the whole bench for a movie, both options work. 

Sente039.jpg

BEDROOM BENCH

Benches in the bedroom provide seating for a room that’s all about lying down. Rather than sit down on a smooshy mattress to tie your shoes, sit on this bench for easy getting-ready support. It’s also extra space for folding laundry and leaving piles of clothes overnight without having to put them on the floor or sleep with them on your covers (I never do that...teeehee). 

Sente038.jpg

I’m telling you this bench is the ONE if there was only ONE you could choose from. Check it out on Article.com. It comes in a black tweed as well as a bold, graphic patternl. Flat-rate shipping is $49 for all items until $999. Buy now and get it delivered to your door with Contactless Delivery that’s safe but still convenient. 

Photos by Rennai Hoefer

5 TIPS FOR STYLING A COZY HOUSE FOR THE HOLIDAYS

This post is sponsored by Coca Cola.

I wish that this was my real house, but the same rules and elements of creating a warm and inviting space shown here apply to mine. What we have here is a gorgeous exposed Rafter House styled by Coley and Lindsey of Junk in the Trunk Vintage Market. The house was our set for a holiday movie night with Coca-Cola licensed merchandise. Coley and Lindsey did an amazing job bringing my vision to life.

Want to make your home feel just as cozy as this? See below for five must-haves to create your holiday gathering space:

PLENTY OF THROWS - Soft fuzzy textures automatically bring a the level of cozy up 100%. Try layering a mixture of faux fur and knit throws. You can drape them across your sofa or fold them up in a basket by the fireplace. NOTE: Try not to make the blankets look too perfect. You want to make a lived-in feeling, so let the ends of the blankets drape over the basket and let wrinkles lay where they may.

KNIT PILLOWS - Though my husband doesn't always love a ton of throw pillows on a couch they sure do make a space more full and inviting. You can also lay some on the floor by the fireplace to create an invitation to come, sit and stay awhile too. You can find this Vintage Coca-Cola Graphic pillow here.

CANDLES - There's nothing like the warmth of candlelight. Placing candles throughout your home is always a great way to make someone feel at home.

BRING THE OUTDOORS IN - Fresh pine, evergreen and burning firewood -those are the smells of winter. Bring those comforting scents indoors by placing fresh evergreen and pine in vases. 

STICK WITH WARM, NEUTRAL COLORS - A lot of color can be fun, but not all colors make you feel relaxed. In fact, color theory suggests that red, yellow and orange tones can make people feel more energetic. Of course, around the holidays we want to have some red in the mix, so try to use it as an accent to brown, ivory and gray.

Photos by Melissa Jill, Art Direction AVE Styles; Prop styling by Junk in the Trunk Vintage Market; House courtesy of Rafter House; Hand-written art by Katie Sterbenz.

SUBURBAN KITCHEN TRANSFORMATION

We always said we would never live in the suburbs. Well, never say never folks because we are rockin' the suburbs now. Maybe the minivan will come next because we also said we would never buy one of those too. We moved away from the city because Ryan was commuting an hour each way to work and we were craving way more family time. It was bittersweet to say good-bye to our cute 1950's ranch house and buy a home in a development where all of the architecture looks the same. Afterall, it was our first house, the place we brought Elle home to and we had put a ton of work into it.  

When we found our new home we knew it would need some work to update it, but the layout and bones were perfect. Ryan and I decided the first thing that we would going to do was repaint the whole house white, replace the flooring downstairs and upstairs and get new appliances. We wanted to start with a clean slate, and the first room to tackle was the kitchen.

As I am sure you know everyone congregates in the kitchen no matter how big or small. You cook three meals a day in there, and with little ones I'm always in there getting snacks too. This kitchen had the original appliances from the 1990's. They were functioning, but the oven seemed like it was going to fall over when you opened the door. We upgraded to stainless steel Kitchen Aid appliances. Though their original oven was electric we saw there was a gas line available, so we chose a gas stove. We are super happy with everything except the fridge. It feels a bit cheap when you open the freezer. 

We chose to pain the walls and cabinets West Highland White by Sherwin Williams. We LOVE this white. It's warm and bright and not too yellow at all. For the new floors we picked out a hand-scraped hickory that had a lot of color variation. We wanted to minimize the appearance of scratches or marks, and we are sooooo happy with this choice. It goes with all of our furniture really well.

I knew I wanted to add hardware to the cabinets. I was toying with the idea of gold handles, but I would have add to change out all of the hinges because you could see the antique brass poking through. Instead, I went with antique brass modern handles from PullsDirect.com. They were under $3 a handle verses $8 to $12 for gold. With 30 cabinets to accessorize you bet I went with the cheaper option. 

We weren't in love with the existing beige speckled countertops, but we didn't have the budget to replace them all. Instead, I found mini hexagon marble tiles that had some flecks of brown in them but also incorporated gray and white. By splurging on carrera marble we were able to elevate the kitchen without having to spend the extra amount on the countertops. 

We are so in love with our newly upgraded kitchen. It finally feels like "us." Sadly, however, a month after we renovated our kitchen flooded and destroyed our new floors and lower cabinets. Luckily we have some leftover wood and the damage isn't too bad, but it definitely is frustrating that we have to rip up the floors again. Oh well! That's life I guess. haha.

Front Door Makeover

evjenhouse3web.jpg
IMG_20110711_192816
IMG_20110711_192816
IMG_20110711_192722
IMG_20110711_192722

Earlier this week I shared with your our backyard makeover, and now I'm going to share with you our front door makeover. When we first bought our bank owned property our front door had a security gate on it, which wasn't attractive at all. Also, our front door wasn't even a REAL front door. It was an interior door that had been kicked in at some point in time (oh yeah, baby).

The front yard looked like old people lived there with randomly placed bushes and pale green paint to "match." Oh, that paint! The red brick with the green color just made me cringe.

frontdoor
frontdoor

So, we changed the exterior of the home by painting it gray, and adding a pop of color with a "grellow" front door. We bought a door light kit on Crestviewdoors.com and then we purchased a solid wood door from Home Depot. With the help of my father-in-law we were able to install the light kit and add some shiny new hardware to make our home look more modern.

evjenhouse4web
evjenhouse4web

I highly recommend door light kits over buying some expensive new door. It doesn't take more than a half a day's work to create a statement for your home. Not to mention, the inside of our house is filled with so much more light.

Screen Shot 2015-05-07 at 4.16.56 PM

Now we just need to do some more landscaping to make the front have more curb appeal.

Photos of the new exterior by Gina Meola.

Backyard Remodel

Ryan and I bought our home in 2011. It was a bank owned property that had been neglected for almost a year. We didn't have too much money, and we couldn't afford a move-in-ready home in the middle of the city, so we bought a little ranch fixer upper, and when I say fixer upper I REALLY mean it too. backyard5backyard4

It had what you would call "good bones," but it desperately needed some TLC as you can see. The whole backyard was a mess of dead oleanders leading to an alleyway for the trash. Our view was less than stellar to put it nicely.

backyard6

So, more than giving our house some extra curb appeal, we decided to remodel our backyard.

Screen Shot 2015-05-05 at 4.43.35 PM

We hired a landscape architect to draft some plans for us. I HIGHLY recommend talking with a professional. We chose plants that weren't water suckers, we put in a drip system, we re-graded the yard, built a new block wall, added a pergola, and resurfaced and extended the patio. We also put in a new gate separating a grassy area and pool area to make it safe for Elle to run around outside.

Screen Shot 2015-05-05 at 4.43.19 PM

It was so worth the investment because we're able to enjoy the outdoors so much more! Just anticipate the process of overhauling your yard to last two months or so. Eep!

I'll be sharing more before and afters or our home in a couple days. Wait until you see the front and inside of our house...Let's just say our front door used to be a kicked in door from the inside of the house. EEK!