SUBURBAN KITCHEN TRANSFORMATION

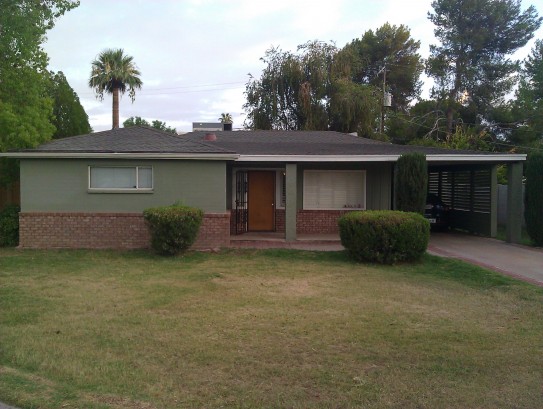
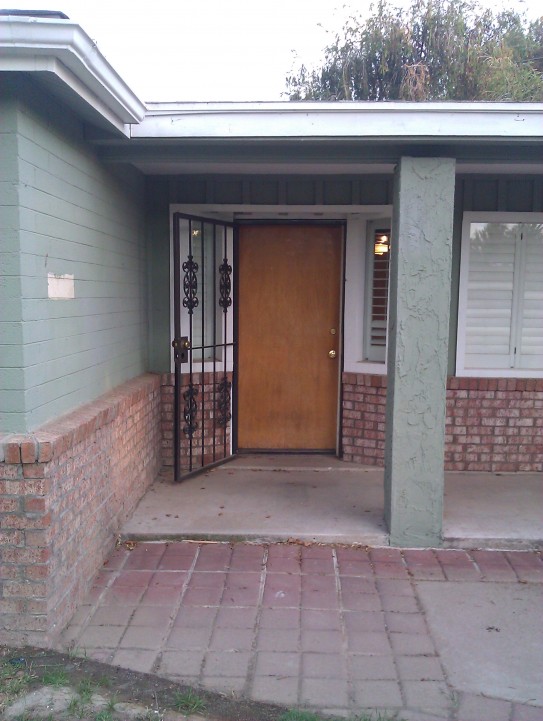
We always said we would never live in the suburbs. Well, never say never folks because we are rockin' the suburbs now. Maybe the minivan will come next because we also said we would never buy one of those too. We moved away from the city because Ryan was commuting an hour each way to work and we were craving way more family time. It was bittersweet to say good-bye to our cute 1950's ranch house and buy a home in a development where all of the architecture looks the same. Afterall, it was our first house, the place we brought Elle home to and we had put a ton of work into it.  

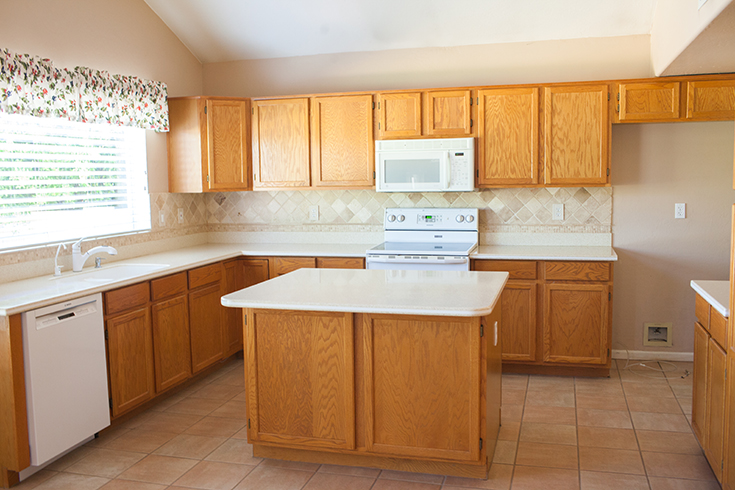
When we found our new home we knew it would need some work to update it, but the layout and bones were perfect. Ryan and I decided the first thing that we would going to do was repaint the whole house white, replace the flooring downstairs and upstairs and get new appliances. We wanted to start with a clean slate, and the first room to tackle was the kitchen.

As I am sure you know everyone congregates in the kitchen no matter how big or small. You cook three meals a day in there, and with little ones I'm always in there getting snacks too. This kitchen had the original appliances from the 1990's. They were functioning, but the oven seemed like it was going to fall over when you opened the door. We upgraded to stainless steel Kitchen Aid appliances. Though their original oven was electric we saw there was a gas line available, so we chose a gas stove. We are super happy with everything except the fridge. It feels a bit cheap when you open the freezer. 

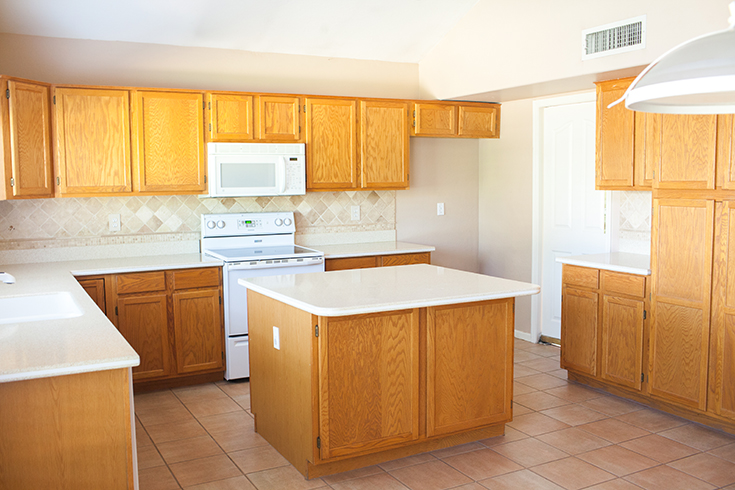
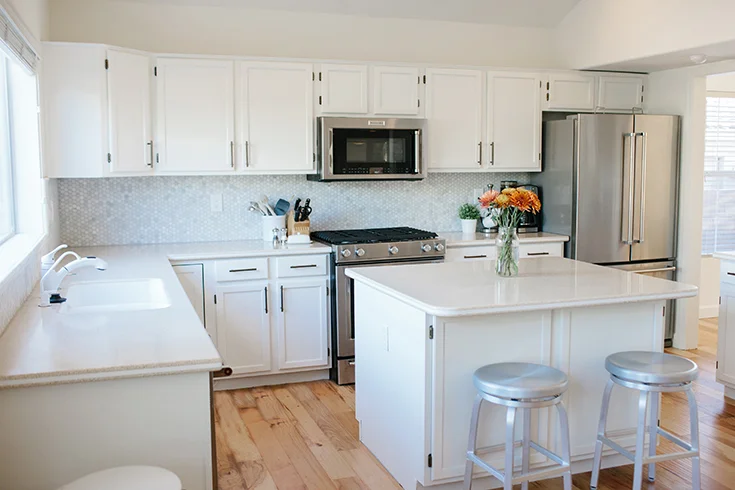
We chose to pain the walls and cabinets West Highland White by Sherwin Williams. We LOVE this white. It's warm and bright and not too yellow at all. For the new floors we picked out a hand-scraped hickory that had a lot of color variation. We wanted to minimize the appearance of scratches or marks, and we are sooooo happy with this choice. It goes with all of our furniture really well.

I knew I wanted to add hardware to the cabinets. I was toying with the idea of gold handles, but I would have add to change out all of the hinges because you could see the antique brass poking through. Instead, I went with antique brass modern handles from PullsDirect.com. They were under $3 a handle verses $8 to $12 for gold. With 30 cabinets to accessorize you bet I went with the cheaper option. 

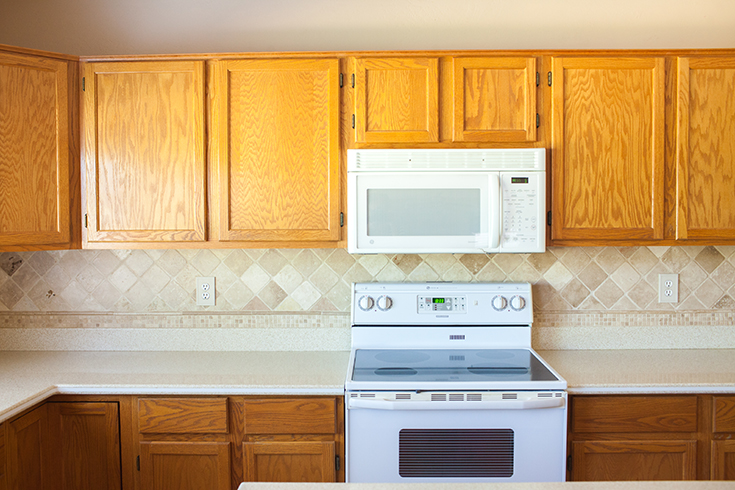
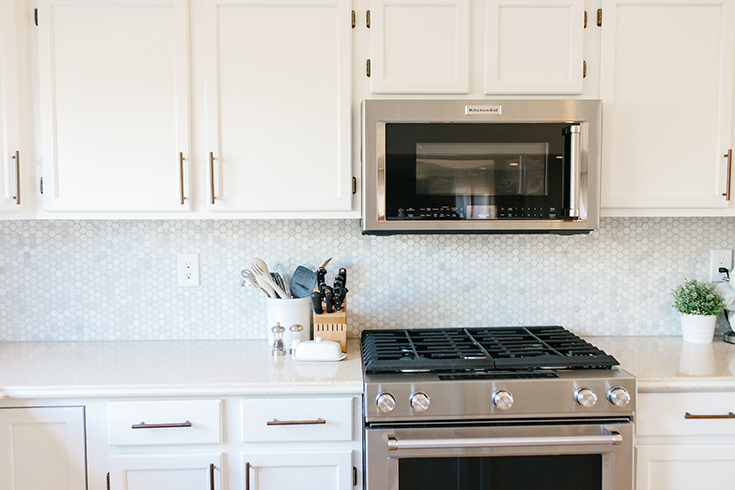
We weren't in love with the existing beige speckled countertops, but we didn't have the budget to replace them all. Instead, I found mini hexagon marble tiles that had some flecks of brown in them but also incorporated gray and white. By splurging on carrera marble we were able to elevate the kitchen without having to spend the extra amount on the countertops. 

We are so in love with our newly upgraded kitchen. It finally feels like "us." Sadly, however, a month after we renovated our kitchen flooded and destroyed our new floors and lower cabinets. Luckily we have some leftover wood and the damage isn't too bad, but it definitely is frustrating that we have to rip up the floors again. Oh well! That's life I guess. haha.

Setting Up a Creative Space

HP25web.jpg
HP18web
HP18web

Sponsored by HP.

AVE Styles was launched from a laptop sitting on my couch. I've never had a creative space to call home for my business. I'm a nomad - traveling from my couch to my kitchen island to Starbucks to my bed...That's the nice thing about laptops, I guess, but after awhile you start to want a desk to put all of your papers on and place to leave your job at the end of the day. By not having a desk I often find myself taking my work "home" with me. I spend entire evenings working from the couch instead of engaging in a game with my family. So, I created a creative space with the help of some friends from Junk in the Trunk Vintage Market. Granted, the space came just as we decided to put our house on the market, but for at least for a short season I have been able to experience what it is like to have a place for my business to call home.

officebeforeafter
officebeforeafter

Check out the before and after! Crazy, right?!

HP01web
HP01web

It sure feels good! It feels great to open the door and know my work is waiting for me, and at the same time, to shut it and leave it for another day. I also like that I can't see the laundry basket of clothes waiting to be folded or anything else that reminds me of chores I need to do outside of AVE Styles. I also love that I'm surrounded by objects that make me "feel" more creative. A gold pair of scissors, fresh flowers, old books, a vintage calendar...They all bring about a thought or a feeling when you stare at them, which could be a source of inspiration for my next project.

HP24web
HP24web

As part of setting up the perfect creative space, I said good-bye to the laptop and hello to a desktop computer. Not just any desktop PC though. It's the Sprout, which is pretty much made for visual creatives like me that work with images incessantly. It has built in 3D scanning technology, as well as a full creative suite that let's you edit and draw with ease. Tomorrow I'll show you what it can do, but for now, you'll find my list of creative office must-haves:

Top 5 Must-Haves for a Creative Space:

1. Fresh flowers - they just make me smile, especially when they're peonies.

2. Comfortable desk - if you're going to be sitting there for hours you better like your desk.

3. A journal - all of my best ideas are written down with pen and paper in a journal.

4. Natural light - you can't necessarily buy natural light, but it's so important to my creative process.

5. The HP Sprout - obviously, I've become a fan of using a desktop computer.

Photos by Gina Meola.

Front Door Makeover

evjenhouse3web.jpg
IMG_20110711_192816
IMG_20110711_192816
IMG_20110711_192722
IMG_20110711_192722

Earlier this week I shared with your our backyard makeover, and now I'm going to share with you our front door makeover. When we first bought our bank owned property our front door had a security gate on it, which wasn't attractive at all. Also, our front door wasn't even a REAL front door. It was an interior door that had been kicked in at some point in time (oh yeah, baby).

The front yard looked like old people lived there with randomly placed bushes and pale green paint to "match." Oh, that paint! The red brick with the green color just made me cringe.

frontdoor
frontdoor

So, we changed the exterior of the home by painting it gray, and adding a pop of color with a "grellow" front door. We bought a door light kit on Crestviewdoors.com and then we purchased a solid wood door from Home Depot. With the help of my father-in-law we were able to install the light kit and add some shiny new hardware to make our home look more modern.

evjenhouse4web
evjenhouse4web

I highly recommend door light kits over buying some expensive new door. It doesn't take more than a half a day's work to create a statement for your home. Not to mention, the inside of our house is filled with so much more light.

Screen Shot 2015-05-07 at 4.16.56 PM

Now we just need to do some more landscaping to make the front have more curb appeal.

Photos of the new exterior by Gina Meola.